Nowadays phishing and other email scams continue on the rise. One of the best ways to identify the scam emails is to examine the email header for detailed information about the sender. Here’s how to read message headers in Microsoft Outlook.
Microsoft Outlook itself provides a basic view of email headers. If that is not enough for you, there is also a free add-in that breaks down the headers to give you a more human-friendly view. In this post, we will explain to you how to read message headers in Microsoft Outlook.
Microsoft Outlook’s Basic Header View
Follow these step by step guide to get a basic view of the headers for an email –
Step 1: Firstly, open the email in Outlook.
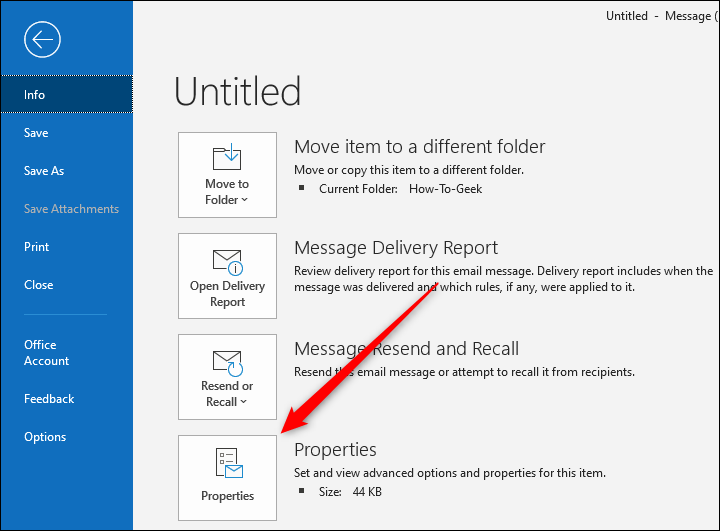
Step 2: Click on the File then tap Properties.
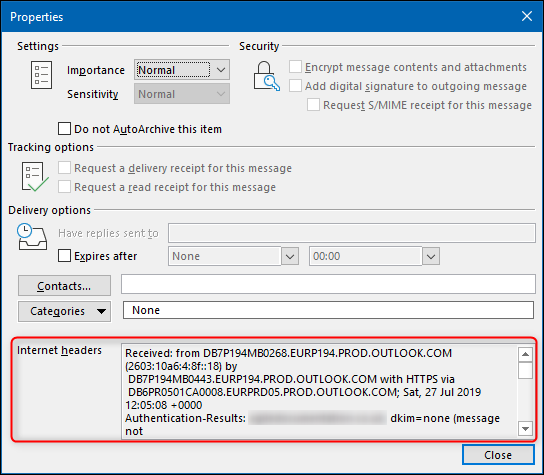
Step 3: The header displays the “Internet Headers” text box at the bottom.
Step 4: This text box is not very large. So we suggest you select all of the text and copy it into your text editor of choice to make it more visible.
However, the header information is one large block of text, which is not that much easy to read. Especially if you don’t read headers very often. There is also a free add-in you can use to get a more useful view.
Using the Message Header Analyzer Add-in
The install process is a pretty simple one plus the Microsoft validates these, so they are safe to use.
If you install the add-in to the desktop client, as we are going to show you. The add-in will also automatically be added into the Microsoft Outlook web app. This enables you to use it when you are logged into Outlook in a browser, too.
Follow these step by step guide to do so:
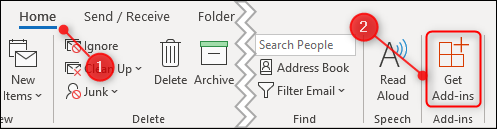
Step 1: First of all, open Outlook and click on Home > Get Add-Ins.
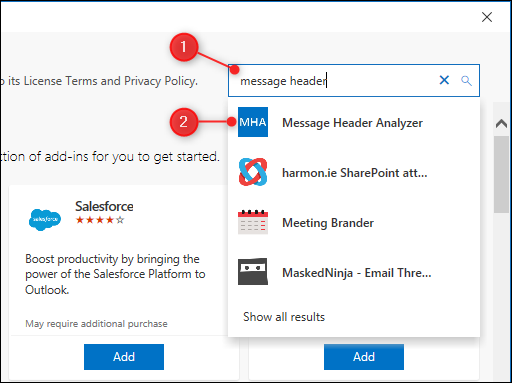
Step 2: Then, in the search box in the top right, start typing “message header”. After that select the “Message Header Analyzer” add-in.
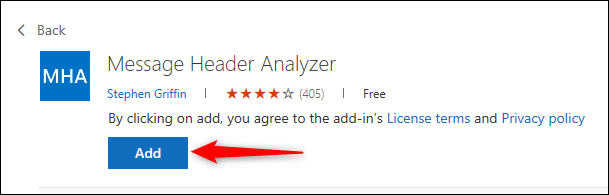
Step 3: Now, click the Add button to install the add-in.
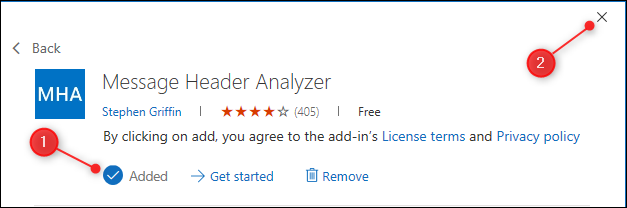
Step 4: Once the add-in is installed, the Add button will change to say “Added.” Then click the “X” in the top right to close the window.
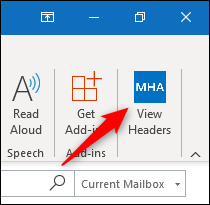
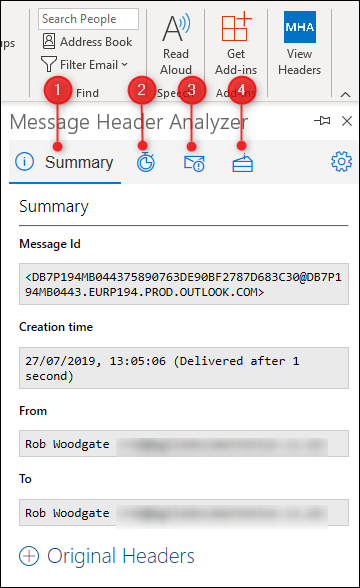
Step 5: When you have an email selected in Outlook, a “View Headers” button will now be visible in the menu bar. You have to click this button to see the email headers for the selected email.
The add-in has the following tabs:
1. Summary: Information (this is the default tab when you open the add-in).
2. Received: Information about where the message was received from, and when.
3. Antispam: Information from Microsoft’s Exchange Online Protection anti-spam scan of the email.
4. Other: All of the other header elements broken down into individual blocks.
Furthermore, where there are suitable web pages that relate to an element, the Message Header Analyzer includes a link to that page. It includes links to the exact section in the email specification—such as Authentication-Results—and Microsoft’s information on the anti-spam elements they add to emails that go through Exchange.