Microsoft Forms is really a great tool for creating free, easy-to-use surveys, polls, quizzes, and questionnaires. It basically includes branching, that allows you to send users to different questions depending on their previous answers. Here’s how to add branching in Microsoft forms.

Add Branching in Microsoft Forms
In order to use Microsoft Forms, you’ll need a free Microsoft account or a paid Office 365 account. After you are logged in just go to the Forms home page to start.
In case you haven’t used Forms before, we have a full guide to using it. Simply take a quick look through that because you’ll need to know how to add questions before you can add branching.
In case you’ve never used branching before then, it’s quite a simple concept: The next question a user will see depends on what answer they give to the previous question.
So if your form asks a question with a choice of answers then A or B, branching will send the user to one question if they answer “A,” and another question if they answer “B.”
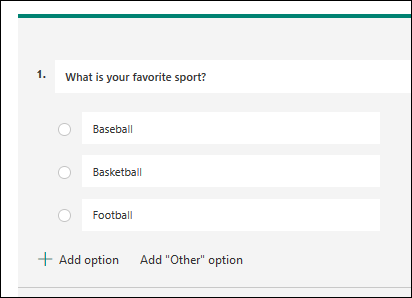
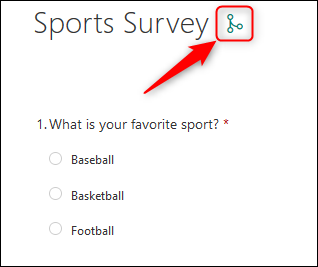
Let’s look at such an example. Simply we will create a survey, where we want to know people’s favourite sport and their favourite player in that sport. Then the first question will be, “What is your favourite sport?” and we’ll provide three options:
1. Baseball
2. Basketball
3. Football
In case they choose “Baseball,” then we’ll branch off to the question, “Who is your favourite baseball player?” If they choose “Basketball,” then we’ll branch off to the question, “Who is your favourite basketball player?” and so on.
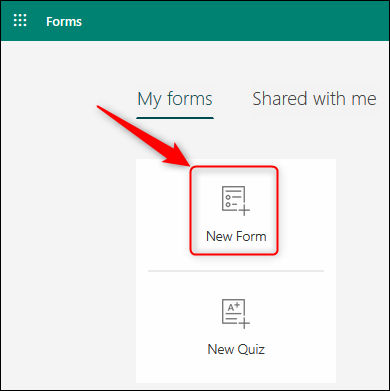
Here’s how this works in practice. In Forms, tap on the “New Form” button to start.
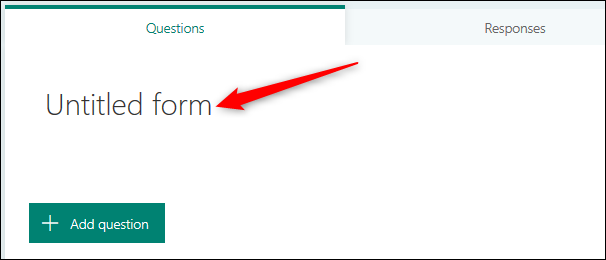
This will open a blank form. Tap on “Untitled Form” and then type in a name for your survey
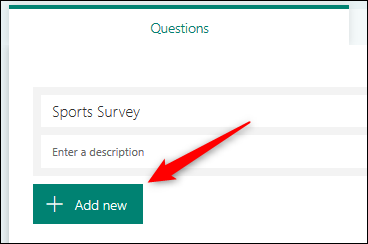
Next tap on the “Add New” button to add a new question.
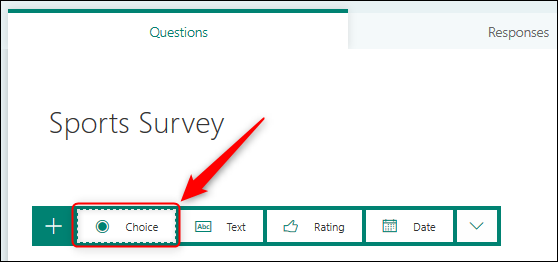
Branching works most effectively with “Choice” questions, so select that option.
Now we need to add a question and answer choices.
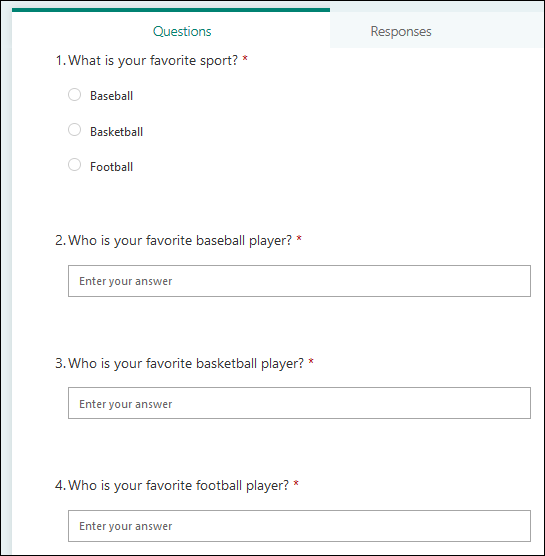
Before we can add branching, we simply need to add the different questions that users will see depending on their answers. Then we will add three more questions, one each for the three choices we gave the user.
The questions should be very simple text questions. Our complete survey will look like this:
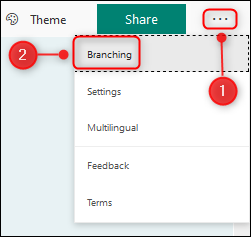
Now, we can add branching. Tap on the three-dot menu button in the top-right corner and then select “Branching” from the menu.
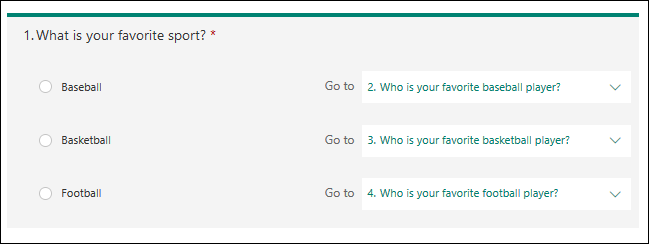
The form will then display the branching options for your chosen question.

Tap on the dropdown to select which question you want the user to see for each answer they select.
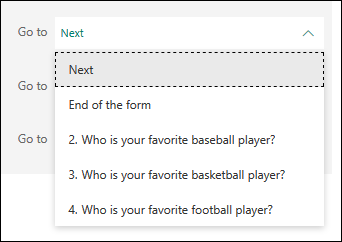
Now choose the appropriate question for each choice.
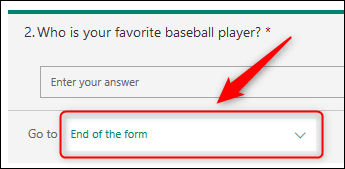
First of all, we need to make sure users see only the questions we want them to see, which means hiding the other questions. So in case, someone selects “Baseball,” then we want them to see the “Who is your favourite baseball player?” question and no others question.
After that select the second question, and in the branching dropdown, choose “End of the Form.”
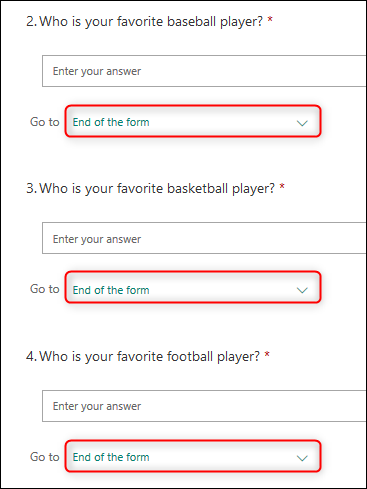
Next, select the third and fourth questions and do the same thing.
When you’ve finished making your choices, tap on “Back” to change from the branching view to the normal design view.
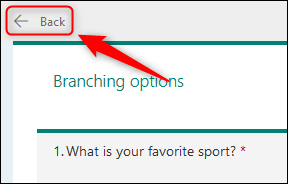
The form will just look exactly as it did before, but with a branching symbol to show you’ve added branching rules.
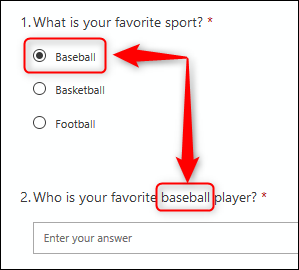
To see the branching in action, tap on the “Preview” button in the top right of the form.

When you select an option from the first question, the second question will change to match.
You can simply use branching on any type of question to send people to the next question, a specific question, or to the end of the form.
In our example, we could have added branching that sent people to the end of the form if they chose a favourite baseball or basketball player, however, sent them to extra questions if they chose a favourite football player.
Although it’s quite simple to use, branching also lets you create complex forms easily and quickly. In case you use Forms at all frequently then, it will become an indispensable tool in no time.