Your computer is running not enough fast. You want to know if it is due to an Internet issue or a problem with your computer. Do you have any programs running in the background slowing things down?. Whether the speed of the Internet is slow. Whatever , you will definitely have to check the speed quickly. Windows do not offer a native app to view your Internet speed on the Taskbar in Windows.
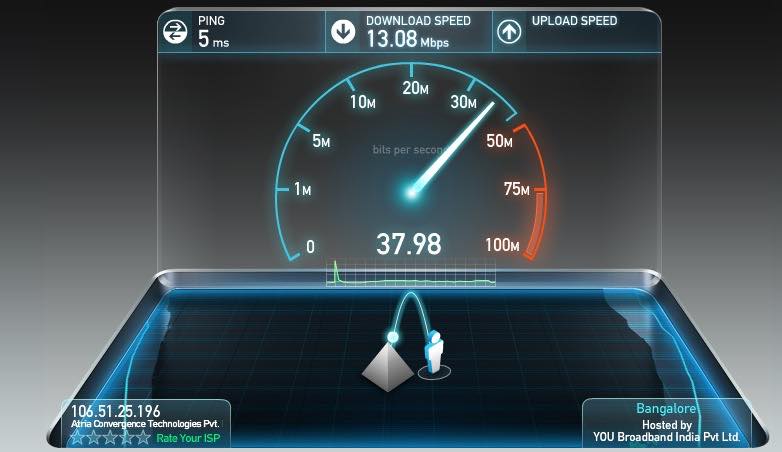
There is another option in which you can keep a current record of the upload and download speeds on your taskbar. You have to just install a small, simple tool called NetSpeedMonitor. NetSpeedMonitor is an old and free tool that is still an effective program to view your Internet speed on the Taskbar in Windows.
Features of NetSpeedMonitor:
To use NetSpeedMonitor tool you have to use Windows XP or later versions. This program was developed for an earlier version of Windows. But if you use the tool on Windows 10, you can run the program in compatibility mode if it won’t install.
You have to make sure that you have downloaded the correct program. The file name should end in “x64_setup”. If you use the one which name ends in “x86_setup,” it will not run on a Windows 10, even if you run it in compatibility mode. The main cause of confusion is different versions of the tool are found on various websites.
NetSpeedMonitor does not have a large number of extra features keeping it neat and clean and easy to use. The developers have organized the options pretty well. There are also no advertisements in the tool.
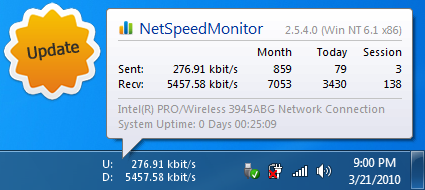
How To Install NetSpeedMonitor to View Your Internet Speed :
Step 1: First of all, download NetSpeedMonitor and install the program. If it installs correctly, you can skip directly to step nine.
Step 2: In case you see the message “Operating system not supported error,” then, you have to run the app in compatibility mode.
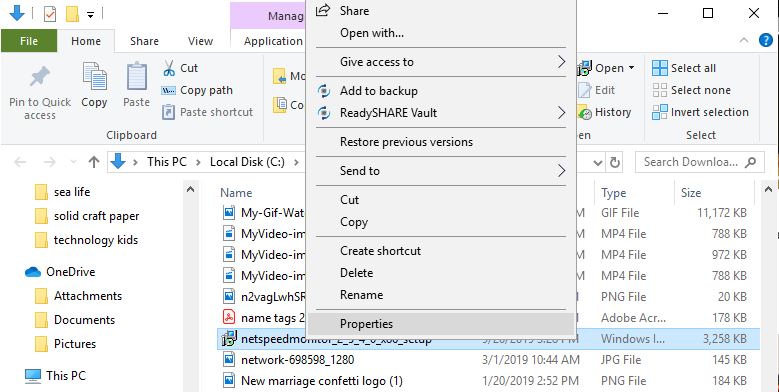
Step 3: To run the app in compatibility mode, find the download in the file explorer and right-click on it.
Step 4: Now, select Properties.
Step 5: Then click on the Compatibility tab.
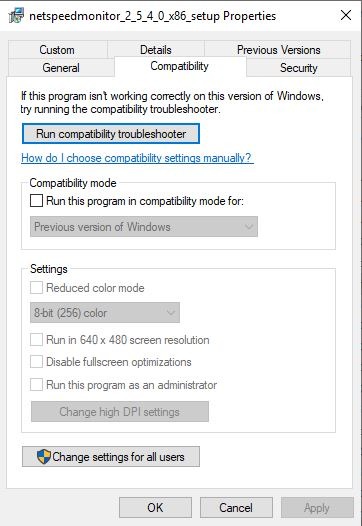
Step 6: You have to check the box next to “Run this program in compatibility mode for”. Just make sure the drop-down below the option is on “Previous Versions of Windows.”
Step 7: Tap on Apply and OK to save changes.
Step 8: Now, install the program once again.
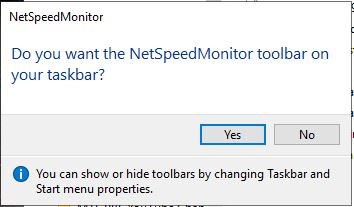
Step 9: Once the program starts installing, a prompt will pop up asking if you want to add the bandwidth monitoring toolbar to the taskbar. Select Yes.
Step 10: After that, a configuration window will open where you can make any changes to your language and network adapter. When they are correct, Tap on Save.
Step 11: When you Tap the Save button, the download and upload speed toolbar will appear on the right side of the taskbar.

NetSpeedMonitor Use
NetSpeedMonitor measures your Internet speed using Kbs by default (Kilobits). If you want, you can change that to Mbs (Megabits) since most Internet Service Providers will report speeds in Megabits per second.
To change this setting, just right-click on the speed display and select Configuration. Then, click on the drop-down menu next to “Bitrate,” and select “Mbit/s.” after that Hit Apply. You can make other adjustments such as the font family, size, and toolbar alignment when you open the configuration window.
NetSpeedMonitor is simply easy to download and use to monitor your upload and download speeds right on your taskbar on Windows devices. You can also check them anytime to make sure your Internet is working correctly.
