You will be quite surprised to know that Left-handers make up only 10% of the world population and face daily obstacles that right-handers might not think about. Using a right-handed mouse doesn’t have to be one of those problems. Here’s how to swap Left and Right mouse buttons on Windows 10.

Here’s How to Swap Left and Right Mouse Buttons on Windows 10
How to Swap the Mouse Buttons from the Control Panel
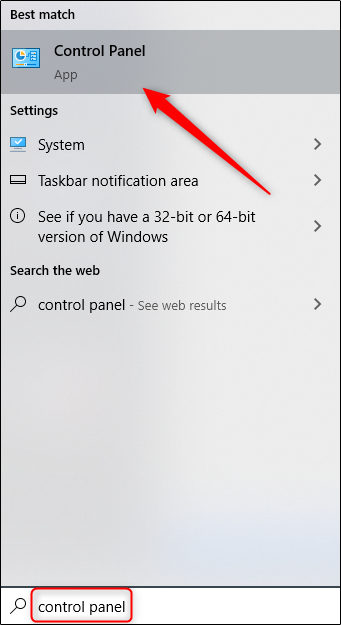
Step 1: First of all, access the control panel by searching “Control Panel” in the Start menu and then selecting “Control Panel” from the search results.
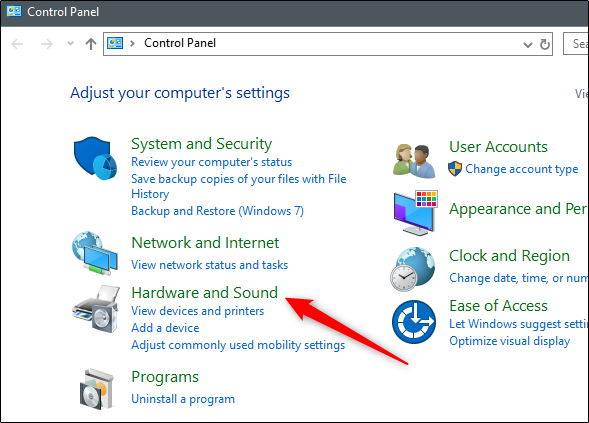
Step 2: Then in the Control Panel window will appear. There, select “Hardware and Sound.”
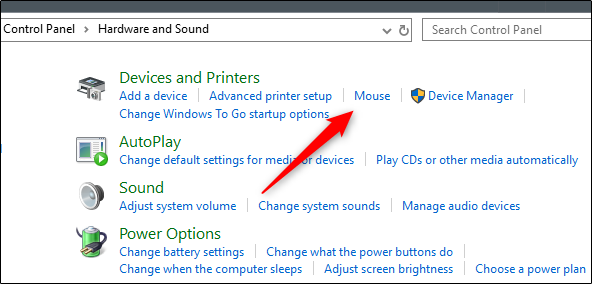
Step 3: Now in the “Devices and Printers” group, select the “Mouse” link.
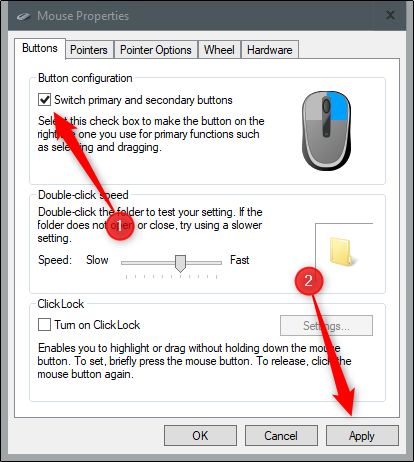
Step 4: Next, you’ll be in the “Mouse Properties” window. After that, check the box next to the “Switch Primary and Secondary Buttons” in the “Button Configuration” group.
Step 5: After that select the “Apply” button at the bottom-right corner of the window to apply the change.
How to Swap the Mouse Buttons from the Settings Menu
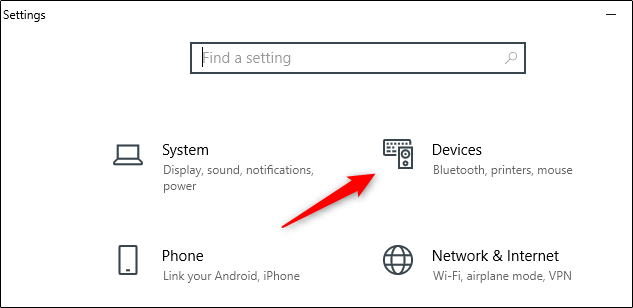
Step 1: Firstly, use the “Windows + I” shortcut on your keyboard to open the Settings menu. Here, select the “Devices” option.
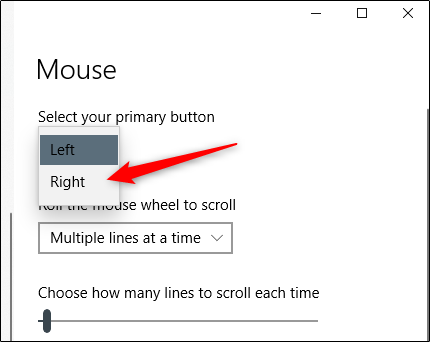
Step 2: After that, select “Mouse” from the left pane.

Step 3: Now you will now see a large selection of customizable options for your mouse. The first option listed is selecting the primary button for your mouse.
Step 4: Then simply open the list and select “Right” to swap the mouse buttons.
How to Swap the Mouse Buttons from the Registry Editor
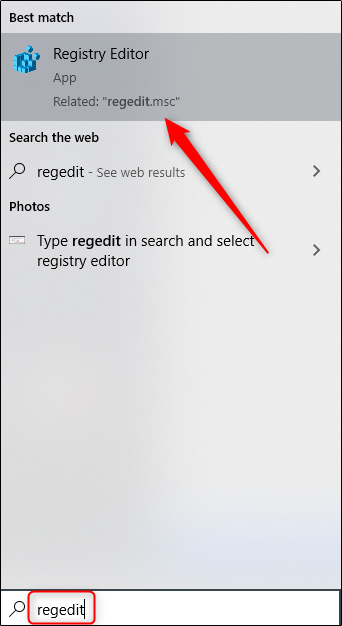
Step 1: First, open the Registry Editor by searching for “Regedit” in the Start menu. Then select “Registry Editor” from the search results.
Step 2: Now, navigate to the following key:
HKEY_CURRENT_USER\Control Panel\Mouse
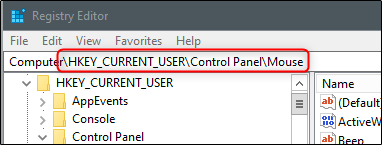
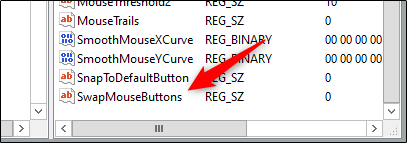
In the right pane, scroll down until you see the “SwapMouseButtons” option. Just select this item.
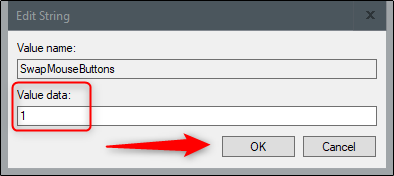
Step 3: After selected, the “Edit String” window will appear. Enter “1” in the “Value Data” text box to set the right mouse button as the primary button.
Step 4: Then select the “OK” button to save your changes.
Step 5: Next to switch the mouse controls back, repeat these steps and enter “0” in the “Value Data” text box.