Generally, Windows 10 version receives updates on a regular basis. They are harmless to Pc and laptop but sometimes they can also Harm our system. So we are going to show you how to get rid of them.

Normally most of the windows 10 updates work flawlessly and the updates which come improve our working experience. But sometimes an update can be more harmful than any useful.
However, if you remember Windows 7 that gives you a lot of freedom over the updates. One could simply install or deny them. But in this way, one could easily neglect the important security updates required.
The updates are going to be automatically installed from now on, which may be good or maybe not.
If anything goes wrong and the update you recently install is started to giving you trouble. You can follow this process to get back to the last installed reliable version of the update for your system.
Kindly follow our given guide here to make sure your windows installation runs as best as possible.
How to get back to the previous version of Windows 10
Updates for Windows 10 comes in two different types, patches and builds. Patches tend to be smaller and apply quick fixes whereas builds are much larger and more like entirely new installations of Windows.
Generally, Windows 10 updates are of two types, patch and build. A patch is a set of changes to the computer program. While Builds are larger than patches that are a completely new installation of windows.
Earlier Microsoft was providing the updates two times a year but now it has changed it. From now on it will provide updates that are regular and comparatively smaller which will not require a mega download or cause any trouble while installing them.
Nowadays when you install a major windows update, it will keep all the files required to get back your system to an earlier build. But you should keep in mind that these files will be available only for 10 days, and it will get deleted automatically after that.
However, within 10 days if you want to then you can roll back to your earlier build and fix your problems by following these instructions:
- Open the Settings app or press Win+I (shortcut)
- Click on Update & Security and then on Recovery
- Click on the ‘Get started’ button under the ‘Go back to the previous version of Windows 10’ heading
- Follow the instructions:
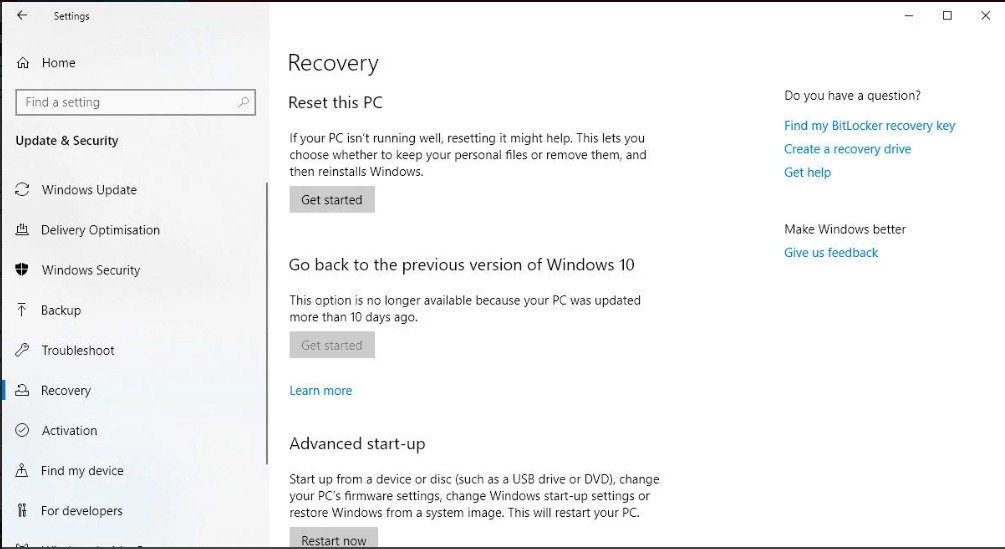
If you see the Get started button is greyed out, Then you are definitely out of given 10 days period and the files required to roll back to earlier version are deleted. Then you have to reinstall windows 10 from a full backed-up system which might you have saved and it’s very important to have a backup.
How to uninstall a particular windows update :
It is quite easy to uninstall the smaller updates than a larger one.
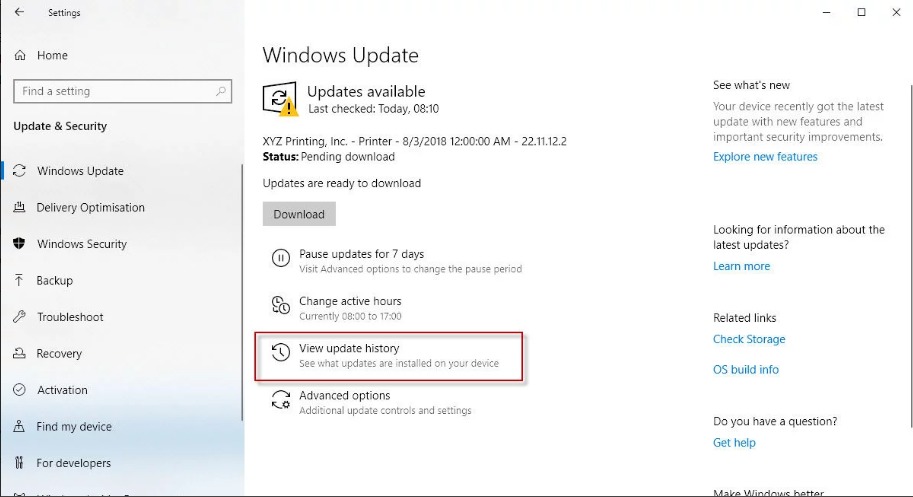
- Open Settings and click on “Update & security”
- Click on “Windows Update” on the left and then on “View update history”.
- On the next screen, click on “Uninstall updates”
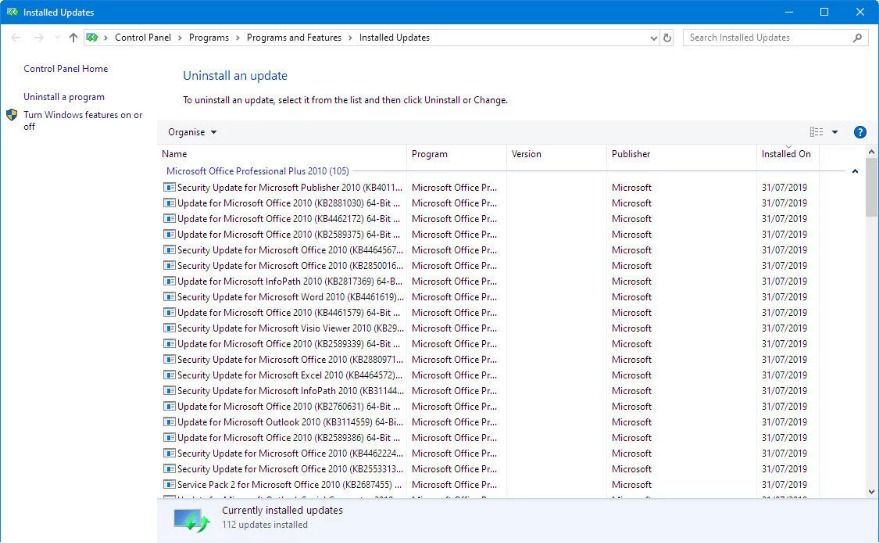
Be cautious you can easily miss the uninstall update link at the top of windows.

Then you will see a list of recent updates sorted by date of installation on screen. By using the search box at the top right you can easily search through all given updates. You can find quickly the update which is giving you the trouble if you have the KB number of that update.
Then select the update which you want to uninstall and then click the “Uninstall” button.
We clearly mention the above-given method will only display updates that have been installed since the earlier build, and the later build is mostly a new install of Windows.