Mac usually comes with only 128GB of storage space, you might find that it is not enough for the number for applications, media and data it can store. Some stuff we use often, while some other stuff we do not. Here’s how to use Optimised storage on your Mac.
Whatever may be you still need to get rid of things eventually when the storage fills up completely to the point where your Mac stops running applications properly.
Normally you will transfer all extra data off your Mac to a portable hard drive for safekeeping or delete the extra data. However, there is another solution which you can also use – Optimized Storage.
Optimized Storage on your Mac works by taking files you have been storing in iCloud and moves them off your hard drive if your storage starts getting too full. It works primarily on moving movies and TV shows that you have already watched on iTunes to the cloud.
You can re-download these later if you need to re-watch them. Similarly, it also gives you the option to store your email attachments, either on your Mac or in the cloud.
These options are coupled with the “Store in iCloud” (covered below), basically, offload data from your local hard drive to your iCloud storage. An icon of the item moved is also left at the original location if you want to easily access it again.
You can just tap on the file and it will download back onto your computer.
How to use Optimised storage on your Mac.
The first method to enable and use Optimized Storage is quite easy just don not do anything. As your storage is about to get full, you will automatically get a notification asking you if you want to optimize your storage or not.
Simply tap on “Yes,” option and you will go directly to the Optimized Storage window. If you want to access the Optimize Storage panel manually then follow these simple steps given below:
Step 1: First of all click on the Apple logo in the top-left corner of your screen.
Step 2: Then from the Apple menu, click on “About this Mac.”
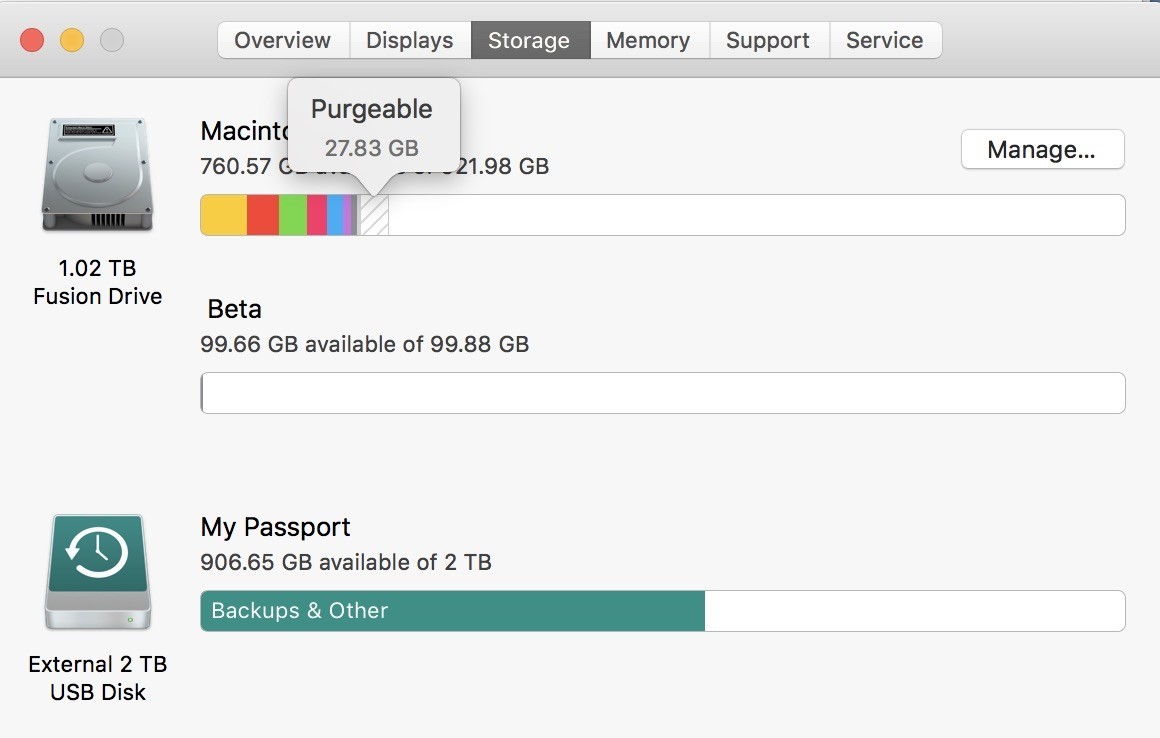
Step 3: Now in the window that opens, click on “Storage.”
Step 4: From here you will see a breakdown of your Mac’s hard drive and storage. Tap on “Manage.”
Step 5: This will open a detailed window with a specific breakdown of storage consumed by different file types. After that tap on “Optimize” in front of “Optimize Storage.”
After enabling the Optimize Storage function, you should also need to enable the “Store in iCloud” option to enable your documents, photos, etc to be stored in iCloud automatically when your storage gets full.
To enable this just click on the “Store in iCloud” button above the Optimize Storage feature.
Now you will get an option to select the folder you want to store in your iCloud. Choose whichever folders you would like to keep synced with the cloud and then click on Enable.
If you ever want to disable Optimize Storage then follow the instructions given below:
Step 1: Firstly open System Preferences on your Mac.
Step 2: Now tap on your Apple ID in the first row.
Step 3: Then uncheck the checkbox at the bottom of the window for “Optimize Mac Storage.”