A USB drive is a portable device that offers an easy and convenient way of storing or transferring your data, although this can come with several security risks. Thankfully, now you can encrypt a USB drive and protect your sensitive files. Here’s how to Encrypt a USB Drive in Windows 10.
Kindly note that encryption doesn’t protect your data and files from password prying methods and password-collecting malware. It is a simple way of preventing your sensitive and confidential files and data from landing in the wrong hands or being accessed by unauthorized persons.
In this guide, we are going to show you how to encrypt a USB drive in Windows 10 so no one can read or access the data stored in it without entering the right password.
Encrypt a USB Drive in Windows 10
Windows 10 comes with BitLocker, a tool which makes it easier to encrypt your USB drive. However, it’s only available in the Windows 10 Pro version.
In order to encrypt a USB Drive in Windows 10 using BitLocker, take the steps below:
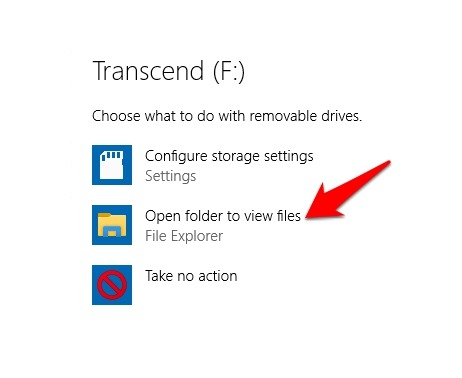
Step 1. First of all, plug in your USB drive into your Windows PC and let the computer recognize the drive. In case you see the AutoPlay on your screen then, tap on the “Open folder to view files” option.
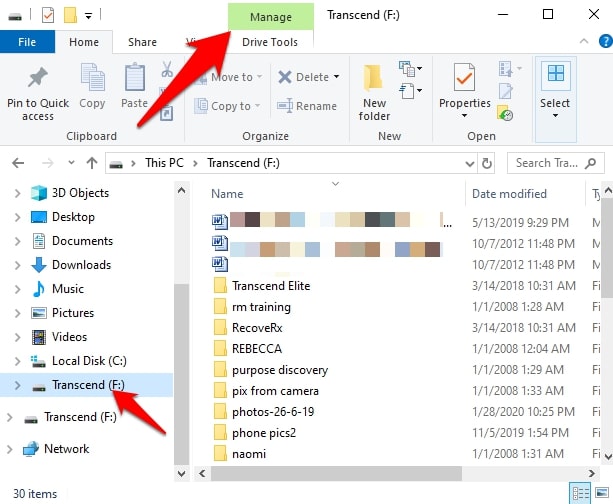
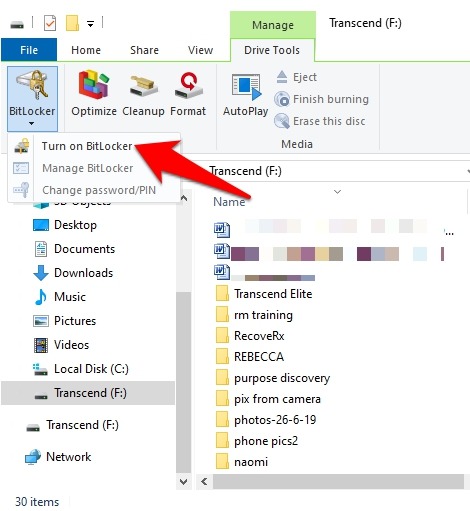
Step 2. Now choose the drive you’d like to encrypt and then tap on Manage tab.
Step 3. After that tap on BitLocker.
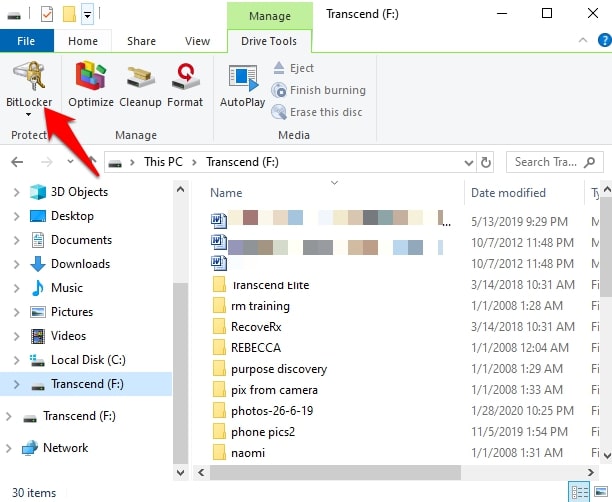
Step 4. Then tap on “Turn on BitLocker”.
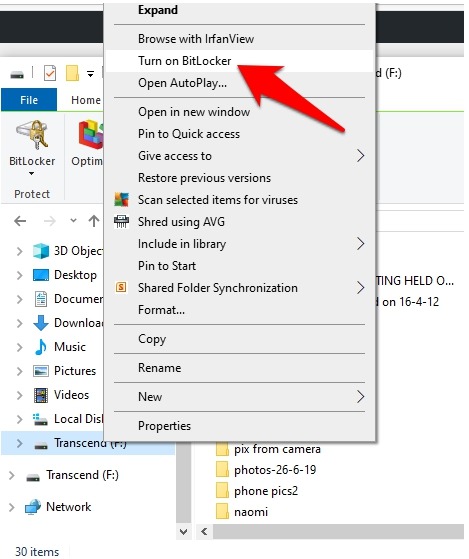
Kindly Note: You can also tap on This PC, right-click the USB drive you want to encrypt, and select “Turn on BitLocker”.
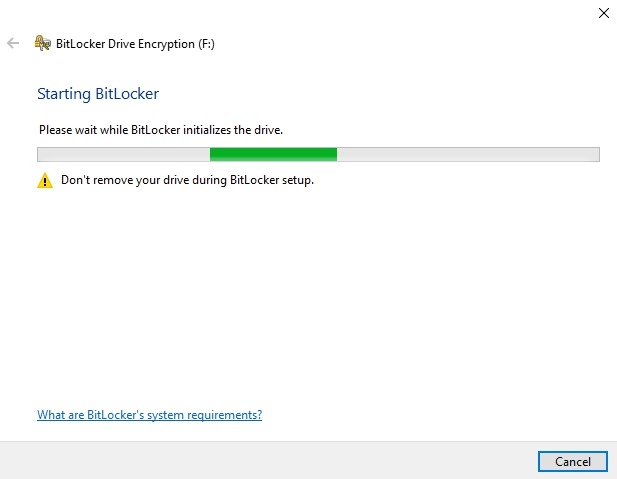
Step 5. After that wait a few seconds for BitLocker to setup.
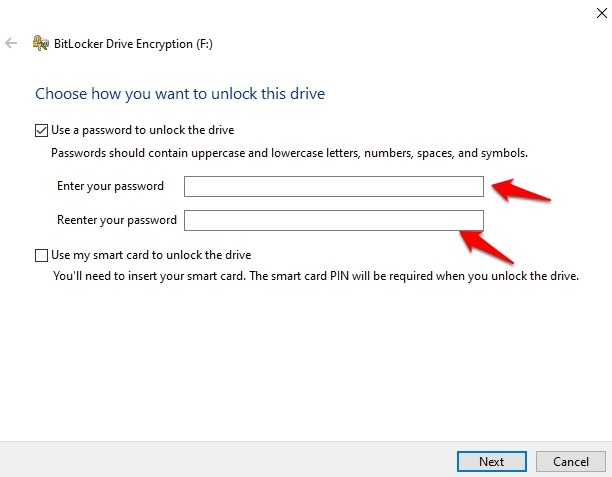
Step 6. Next, check the “Use a password to unlock the drive” box.

Step 7. Then type in a password you can remember in the “Enter your password” box and do it again in the “Re-enter your password” box.
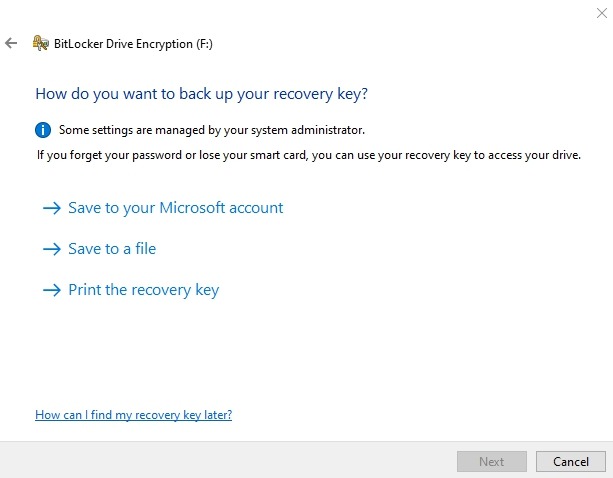
You will now get a prompt to back up a recovery key. This key will allow you to access the USB drive in the event that you lose the encryption password you entered in the previous step. You should always save this key or print it out and store it someplace safe instead of storing it in the cloud.
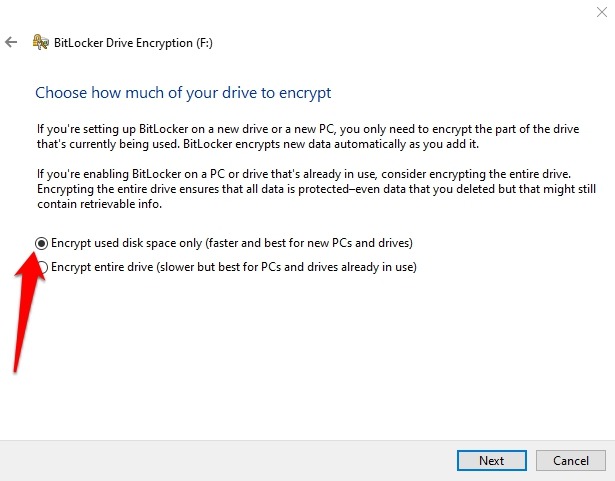
Step 8. Now, select how much of your USB drive you’d like encrypted. Here, you will get options: select the entire drive or the used space only. select the method of encryption you’d like to use.
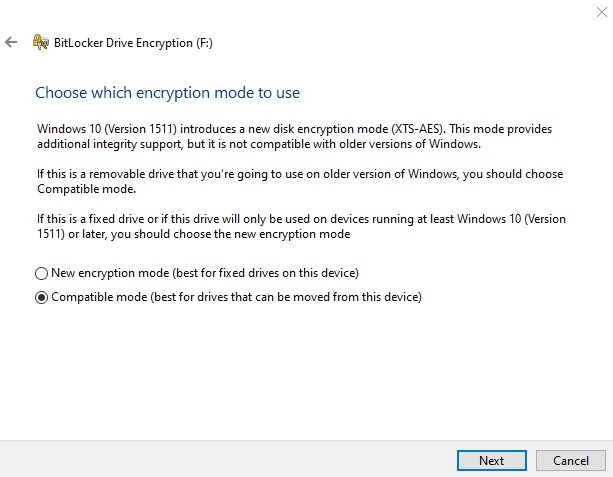
Generally, a BitLocker has the new 256-bit XTS-AES encryption mode in Windows 10 version 1511, and with the improved algorithm, it also offers integrity support. Older Windows versions don’t have this new encryption mode though. This is why you need to pick an encryption method.
In case you’re going to use the USB drive you’re encrypting on the same computer you’re encrypting it on then, pick the new encryption mode.
However, in case you want to use it on other computers running old Windows versions then, you can still do so by selecting “Compatible Mode”. This uses the previous 128-bit AES encryption standard.
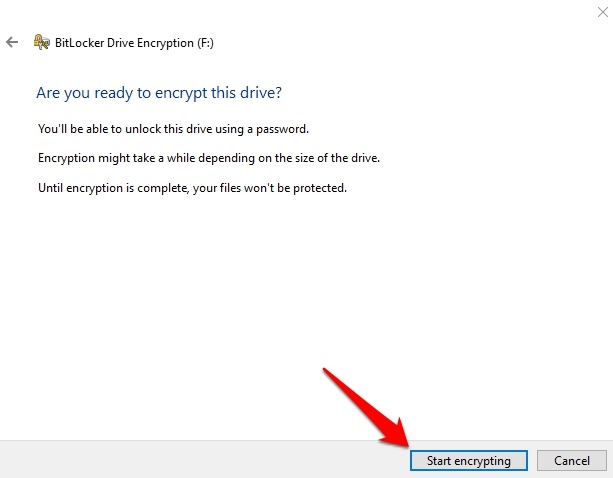
Step 9. The next step is to encrypt the USB drive. The speed by which it encrypts you drive may move fast or slow it depends on the size of your USB drive, the amount of data you have stored on it, and the system specs of your machine. Tap on Start Encrypting when ready.
In case you open This PC by the lock symbol then, you’ll know the drive is securely encrypted. You’ll also get prompt to enter the password you created initially each time you plug in the encrypted USB drive.
There are also other options which you can pick to automatically unlock the drive on your computer. Or if you forgot the password, you can enter the recovery key instead.
In case you want a different way of encrypting your USB drive in Windows 10 then, you can use an encryption manager. This is a tool or software that encrypts only the files on your USB drive. However, it doesn’t partition the drive in its entirety, which is good.
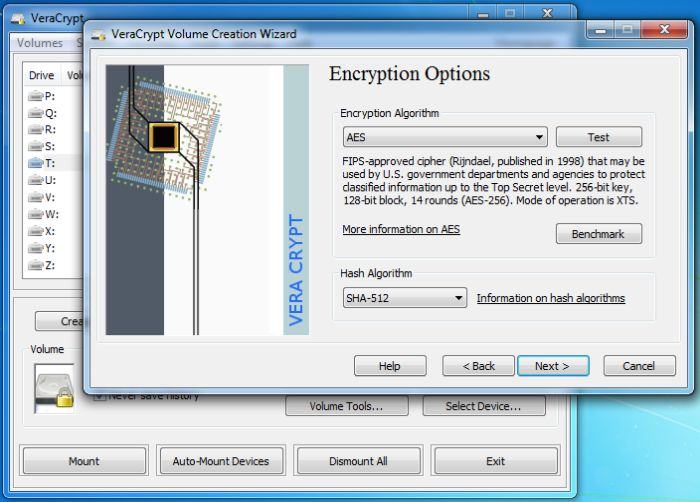
VeraCrypt is one of the best USB drive encryption software you can use. You don’t have to install it on your Windows PC. You can just download it to your USB drive directly.
Generally, VeraCrypt uses the 256-bit AES encryption, which is very strong and can’t be cracked by brute force. It creates two security levels – one is a hidden vault that’s protected using a single password and other is a visible vault or outer volume, which is protected using a different password.
The main purpose of the visible vault is to protect the hidden data if someone tries to forcibly get the password from you. However, in the real sense, they can’t access the real files as they’re still hidden.
But, this decoy vault is only effective against data thieves who don’t know about VeraCrypt. Though with a bit of research, they can still find out about it.
Once the software formats your USB drive then, you can only access the drive via VeraCrypt. When you plug it into your PC, it’ll appear in Windows Explorer. However, you only see the VeraCrypt program and the outer volume or decoy vault.
Conclusion
We hope that now you know how to encrypt a USB drive in Windows 10. In case you have any further questions or you weren’t able to get the drive encrypted then, let us know by leaving a comment in the section below.