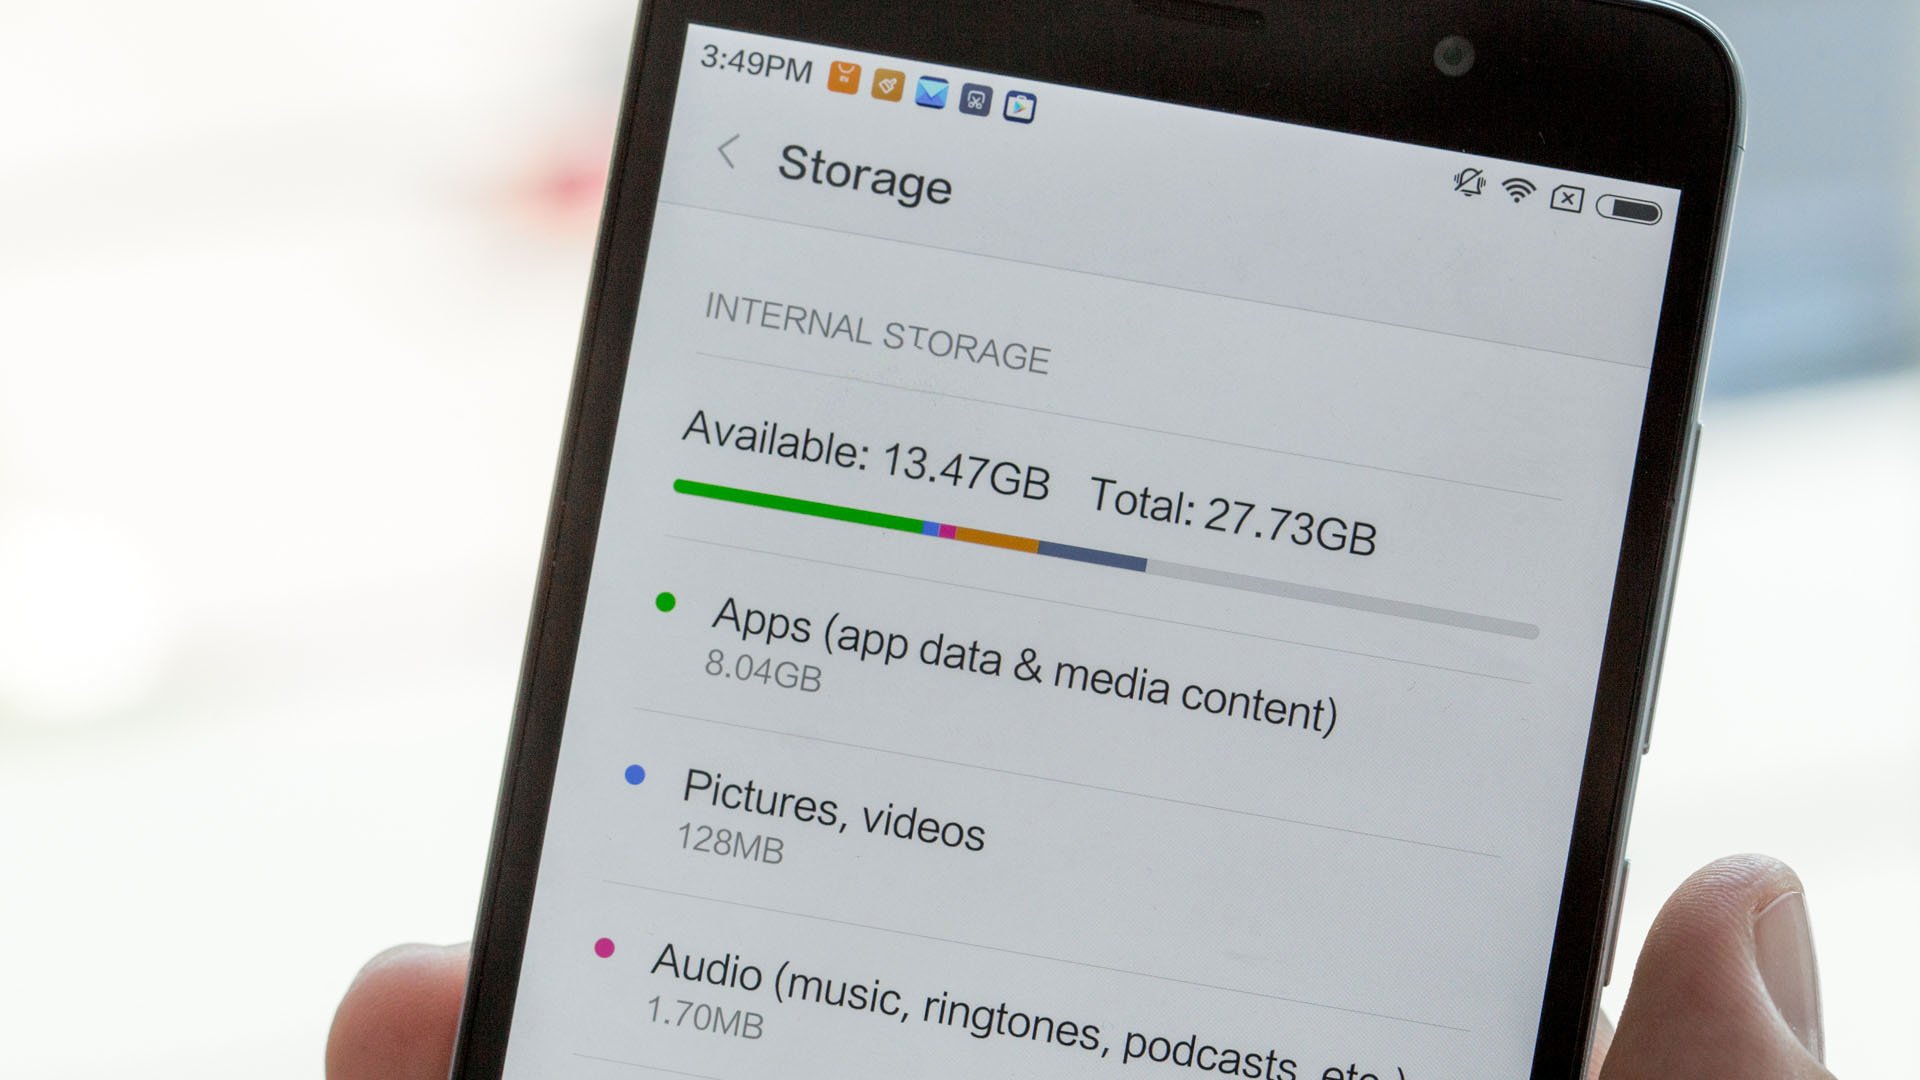
Android Phone storage continues to increase, with many models offering 64GB or even 128GB as a baseline. However, it is still easy to run out of space, particularly if your phone does not support expansion via microSD card. Here’s how to free up space & get more storage in Android.
How To Free up Space & Get More Storage in Android
Nowadays smartphones typically come with at least 64GB of storage as standard, although this can drop to 32 or even 16 if you have bought a budget model. Even on 128GB devices, it is easy enough to fill up when you get a little bit away with installing apps and taking photos and videos.
Even if you have not run into any storage issues just yet, managing your storage properly can simply help keep things ticking along nicely performance-wise.
If you think the low storage message is displaying incorrectly then, you may need to clear your cache. First, head to settings – storage- cached data and selecting OK when prompted with the pop-up.
On many Samsung phones, this is as simple as heading to the storage section of Device care and hitting ‘Clean now’ option.
The best way to free up space & get more storage on Android is to perform a factory reset and start afresh. Follow the methods given below to free up space & get more storage in Android.
However setting things back up how you want them can take a lot of time, and you may lose precious photos, video and other files if you have not backed them up correctly.
1. Move photos and video of internal storage

This possibly will have more impact than any other. Photos and videos take up a large amount of space, and the more storage space you have the less likely you are to routinely go through and prune out the poor shots.
If your device has space for a microSD card, then add one and automate the saving of such media to microSD.
If your device does not support microSD there’s Google Photos. In fact, we will advise using this free app anyway, since it is useful for ensuring all the important memories get backed up and are accessible from any device on which you are logged into your Google account.
Just download and install the app, then launch it and go to Settings, Backup & Sync. Make sure it is backing up your media over Wi-Fi, and that any important folders – such as your WhatsApp or Snapchat folders – are included.
When it is finished backing everything up, in Google Photos go to Settings, then Free up space. Just follow the prompts to delete the local copies of your media and see just how much storage you’ll save.
2. Delete WhatsApp media
It is easy enough to prevent WhatsApp from automatically downloading pictures and video to your phone. However, it also stores any media you send over the service.
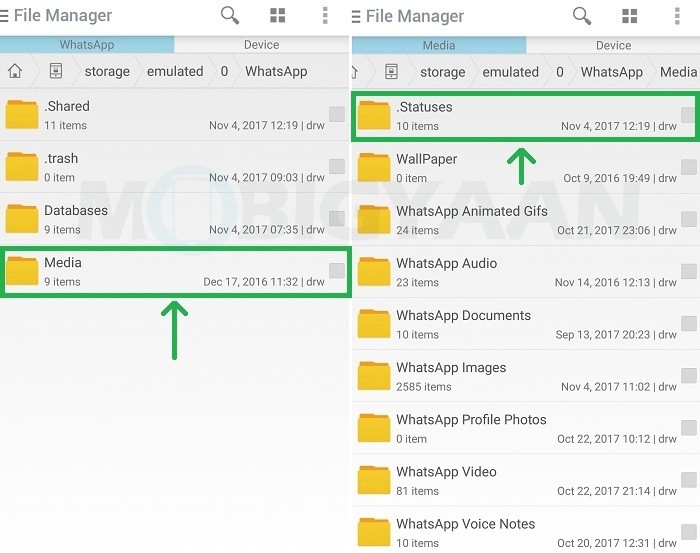
It is unlikely that you will be able to view these files from the Gallery, so instead open your file browser app and navigate to Internal storage > WhatsApp > Media > WhatsApp Images > Sent.
You can also check out the other folders within Media, such as WhatsApp Video folder. You may be surprised what you find there, so delete what you do not need, including any duplicates already backed up in Google Photos.
3. Move data to Google Drive

Since you are using a phone that runs a Google-owned OS, it makes sense to make use of Google’s other cloud-storage tools, too. Though your document files will take up significantly less space.
All these can be easily moved to Google Drive. As with Photos, this will also create a useful backup and make those files accessible from any online device.
4. Delete unwanted apps and games
Sometimes we think we have deleted all the junk that we have installed through Google Play, and really all we have done is scanned in home screen for any unused apps and deleted those find there. Sometimes we only delete the shortcut icon, and the app is still lurking in the app drawer.
The best way to delete unused apps and games is to visit the Apps menu in Settings. You should avoid deleting anything important just because it does not seem familiar to you, so ensure you are looking only at the Downloaded tab if your device offers such an option.
You can also access a list of the apps and games you have downloaded by opening Google Play, choosing Settings, My apps & games, then selecting the installed tab. To delete anything here just click on it, then choose Uninstall option.
Do not avoid deleting paid apps simply because you once spent a quid on them, any previous purchases from Google Play can be re-downloaded at a later date for free of charge.
5. Delete your downloads
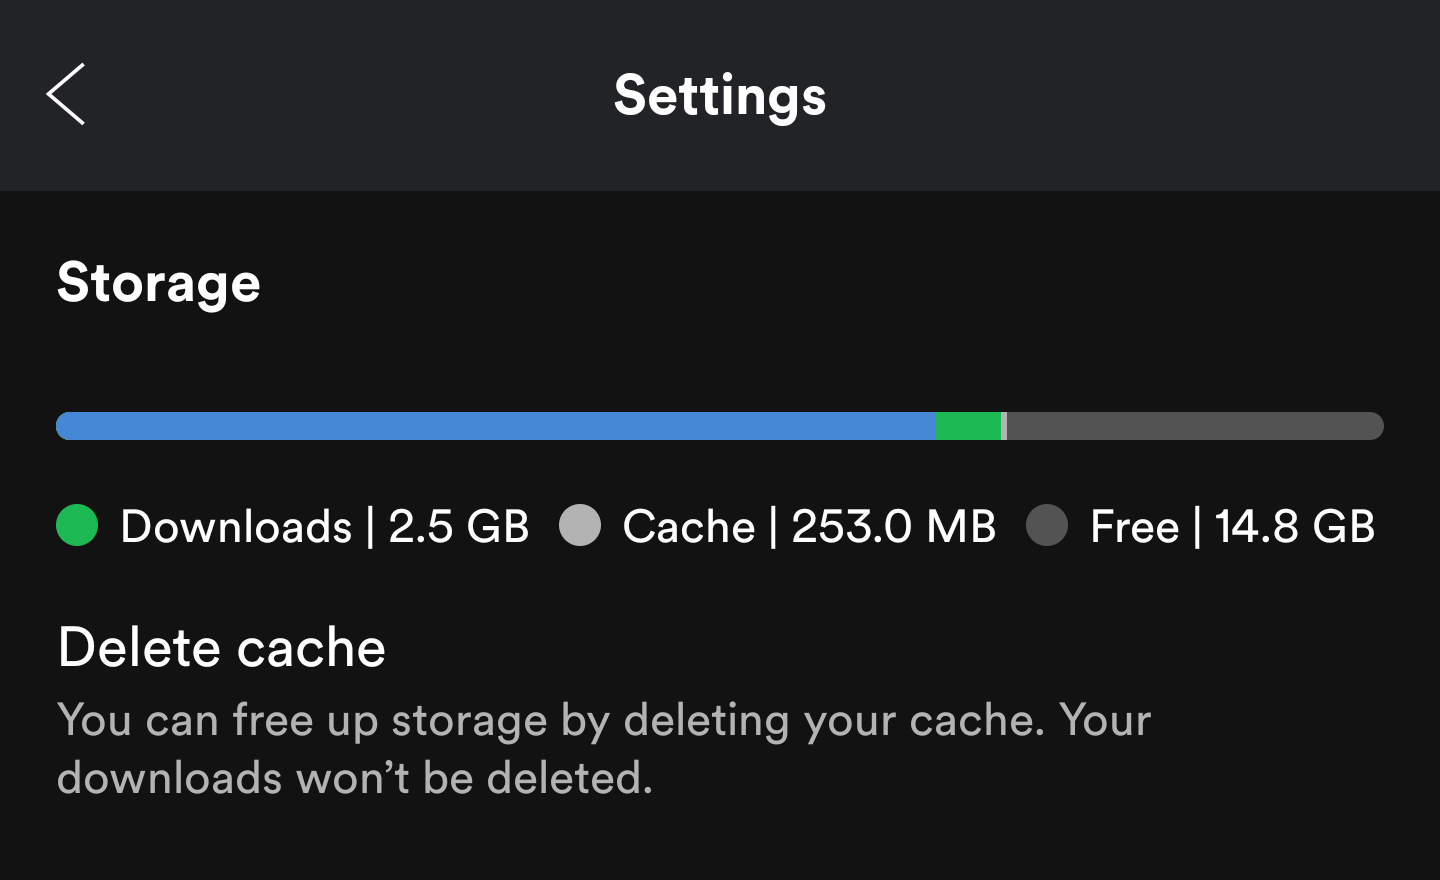
Everyone always forgets about downloads, which are often left behind in a forgotten folder long after they have been any use. If you do not have a file browser app on your device you can download one free from Google Play. Now search for the Downloads folder and simply ditch anything you do not need.
How To Get More Storage in Android
We have already told you about adding a microSD card to expand your device’s storage potential. However, not all phone support them. While others do so at the expense of a second SIM slot which you might prefer to use. The good news is there are some other ways to add storage to Android.
Even if your phone does not natively support a microSD card, it is easy to attach one to make use of on an ad-hoc basis using a microSD card reader. This reader connects to your phone’s Micro-USB port. Or else you can use a wireless version such as the Verbatim MediaShare Wireless Mini.
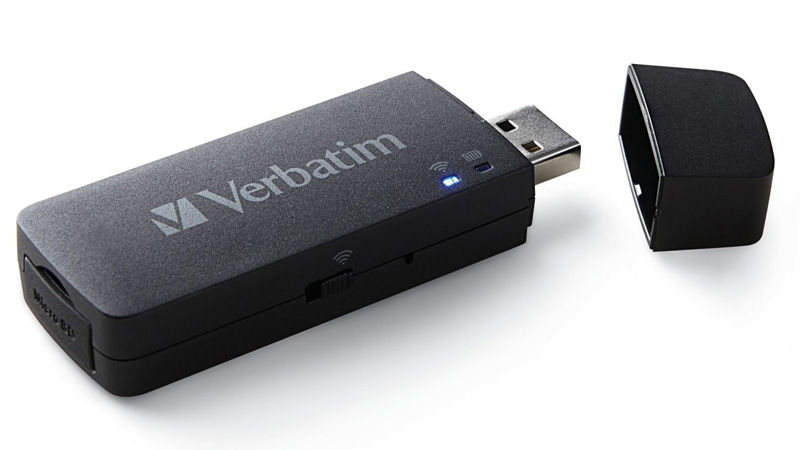
The Verbatim looks like just a USB flash drive. You can insert it into your PC’s USB port where it will act as such. It will also allow you to drag and drop files on to it. However, it’s inside is a microSD card, which supports the transfer of files as well as content streaming.
Download the Verbatim MediaShare Wireless Mini app free from Google Play or the App Store. Then, you can easily connect it to your Android phone or tablet over Wi-Fi to access the contents of the microSD card.
The great thing about the wireless connection on the Verbatim is that up to five people can share that connection. You can also password-protect access to the drive.
An internal battery generally lasts for up to three hours. Alternative options include connecting to a wireless hard drive or plugging in a flash drive and also connecting over OTG.
You might not realise it, but the majority of Android phones and tablets support USB OTG (On The Go). OTG allows you to plug-in peripherals such as storage drives, just as you would with a PC.
Provided that your device supports OTG you simply need an OTG adaptor, which cost very little. Kindly note that you may need to power the drive from an external source.