It is quite simple to print a single email, but what about a list of emails showing information like who sent them and when? Here’s how to print a list of emails from Microsoft Outlook Folder including all of the visible information.
First of all, you will need to make all of the emails you want to print visible in the same folder. There are many ways to do this, including moving all of the emails to the same folder. However, the simplest way is to perform a search using the Search box just under the ribbon.

In case you are looking for specific criteria emails sent by a particular person, including specific words, or sent in a specific time frame, then you are better to build a dynamic search folder.
This will let you build search queries that range from the very simple to the very complex. Search folders are usually easy to use if you have never made one before.
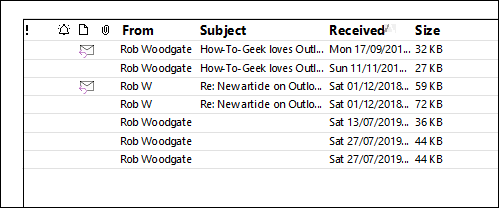
Either of the ways, once you have the list of emails you want to print then the next step, is to make sure all of the right information is displayed. After all, if the critical information is who the emails were sent to, but that is not shown in the folder then the list is pretty useless.
Luckily changing the visible columns is quick and quite easy, so go through this article to find out how to print a list of emails. Once you have added or removed whichever columns you want then you are ready to print.
How to Print a List of Emails
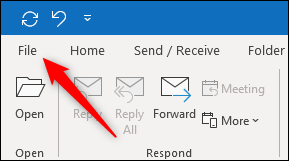
When you print this list, it will be in the order that is displayed in your folder, so do not forget to order them the way you want to print. To print a list of all the emails in your folder simply tap on “File” in the top left of Outlook.
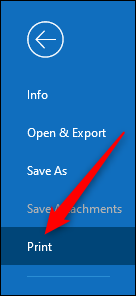
Next, in the menu on the left-hand side, tap on “Print.”
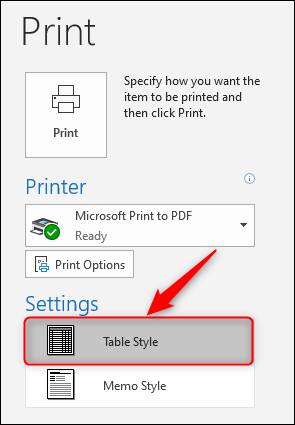
Printing is set to “Memo Style” by default, which means the currently selected email will be the only one printed. Now change this to “Table Style.”
On the right-hand side, you can see the preview. This preview will be displaying the list of emails with all of the columns you want to be printed out. You can tap on the preview to make it bigger in case it is a bit small.
After that check that everything looks right. In case it is not then, click on the Back arrow in the top left above the menu to go back into Outlook and change the visible columns and column widths to how you want them to look.

Once the preview looks correct, select your printer (we are using Windows’ built-in Print to PDF functionality) and then tap on “Print.” You will now have a print-out of the list of emails in the folder, complete with all the column information given.