Generally, there is not much room on a Windows computer’s hard drive, and once you fill it up, your machine may run slower or have trouble with programs crashing. You can fix this problem on your device by learning How to Move Windows Programs to Another Drive.

Either you have limited space on your computer or you want to store your apps separately, moving the apps to a different drive will help. Running a lot of applications like sophisticated games or video editing software will be easier if you keep your programs on a separate drive too.
Here are three different ways to Move Windows Programs to Another Drive
1. Move Apps using Settings
The easiest and quickest way to move apps from one drive to another on your Windows computer is to use the Apps settings. This method works for many, however not all of the programs you have installed.
To move apps using Apps settings follow the steps:
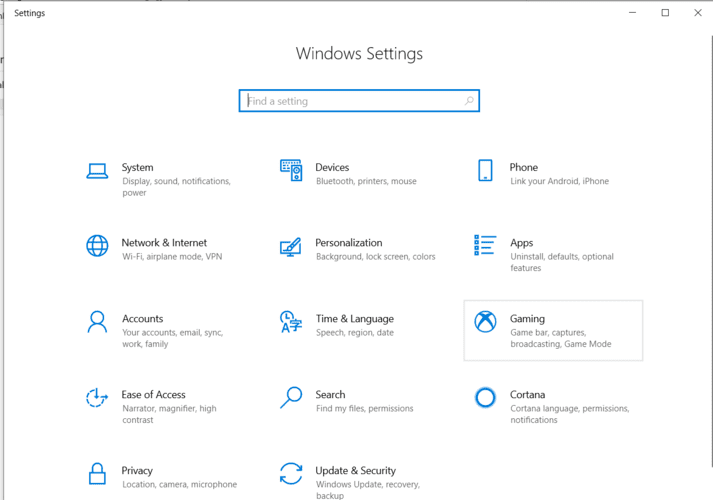
Step 1. Start with pressing Win + I to open Settings.
Step 2. Then tap on Apps.

Step 3. Now scroll to find the app you want to move.
Step 4. After that tap on the app and select Move.
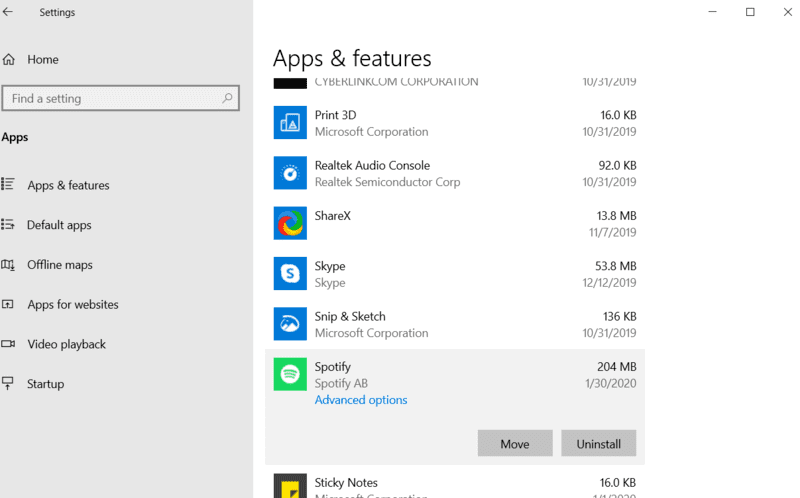
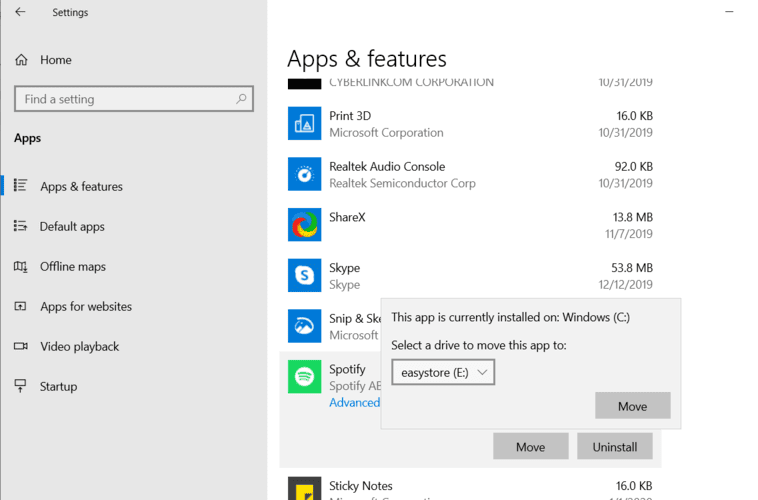
Step 5. Now choose the drive where you want to move the program.
Step 6. Then tap on “Move” again.
In case the Move button is unavailable for the app you want to move then, the program is a Windows 10 app, and you cannot move it.
2. Change Install folders
Moving the file location of programs you have installed on your computer cannot be simply done by copying and pasting. There are often too many different parts of the program in a lot of places in your drive, and moving them yourself can cause the program to stop running.
In place of changing your registry and risking issues that can affect your entire computer, it may be easiest to uninstall the program and reinstall it to the new drive. Simply check the website to make sure you can still download the program before you remove it from your machine.
First of all, uninstall the app you want to move, follow the steps.
Step 1. Begin by pressing Win + I to open Settings.
Step 2. Now tap on Apps.
Step 3. After that tap on the app, you want to remove.
Step 4. Then tap on the Delete button.
Now that you have uninstalled the program, you can set up your computer so it will download apps to the drive you now want to use. First, you need to change the default install location for new apps.
Step 1. Start by pressing Win + I to open Settings.
Step 2. Then tap on the “System”.
Step 3. Now tap on “Storage”.
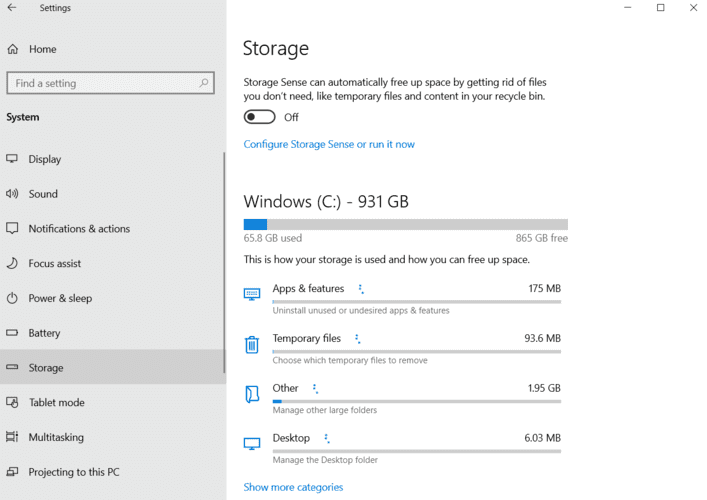
Step 4. After that scroll down and tap on “Change where new content is saved”.
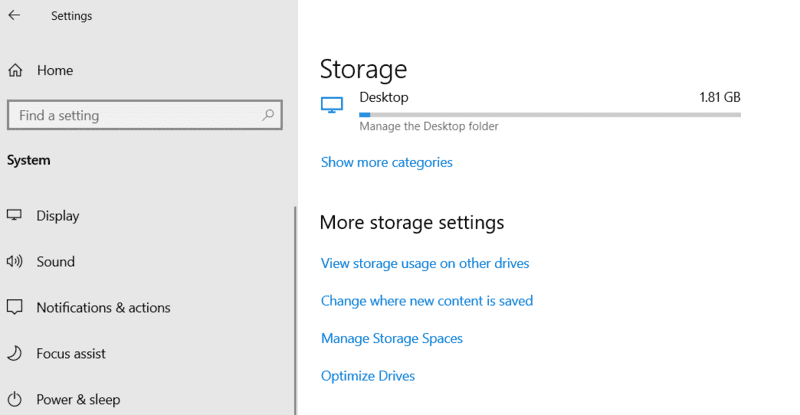
Step 5. Here, under “New apps will save to:”, change the drive to the drive you want to use.
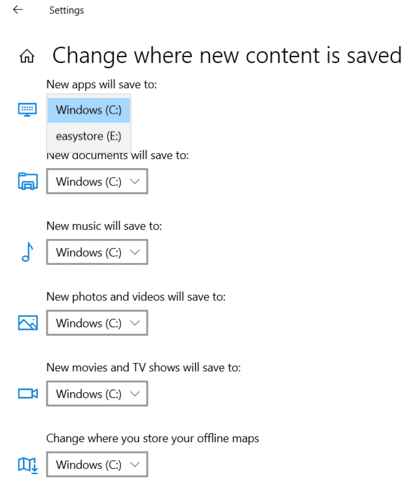
Step 6. Then simply tap on Apply.
You can also change the other settings in this window in case you want other new downloads to go to the new location as well.
Once you have chosen the drive where you want to install the program then, go to the website and download the program.
3. Creating a Symlink
Let’s say you want to move MSI Afterburner to a new location without it messing up. First of all, cut and paste the program’s folder from the old location to the new one.
Next, tap on Start, type cmd, right-click “Command Prompt” in the search results and then click “Run as administrator.”
In the command prompt, ensure that the command prompt is set to the drive you’re moving your program from. In order to do this, just enter the drive name followed by a colon (so “d:,” “e:,” “f:” or whatever).
After doing this, type your equivalent of the following command, replacing the drive name, program name and directory with those relevant to you:
F:Program Files (x86)>mklink /j "MSI Afterburner" "d:MSI Afterburner"
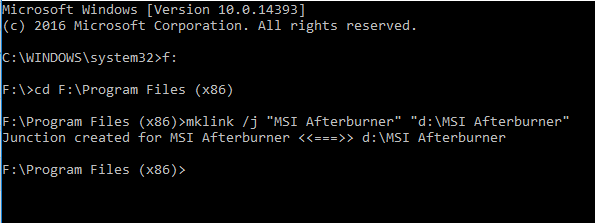
If all the things go well, you should get a message saying “Junction created for” followed by the program you moved to another drive. Now go to the original location of the folder. There you’ll see a little shortcut-like icon next to the folder for the program that you moved.
Then Double-click this icon, and it’ll look like the program is still on the original drive in its entirety. It is just an ingenious illusion. The program is actually in the new location – Windows just thinks it’s in the original location, which means that it will continue to work just as before.

4. Use third-party software
In case you’re going to move programs that you cannot move using the Apps settings, or if you have a bunch of programs you want to move which makes uninstall and reinstall a long process. Then using a third-party app to move them for you may be the easiest thing you can do.
Here’s how to move the programs using a program known as EaseUS Todo PCTrans.
Step 1. First, go to the EaseUS website.

Step 2. Then, tap on the “Free Download” button.
Step 3. After that tap on “Save”.
Step 4. Say “Yes” to allow the program to modify changes to your computer.
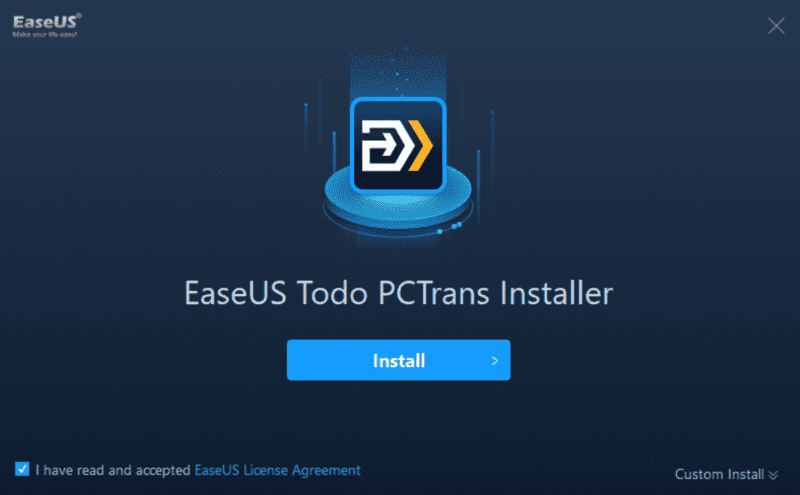
Step 5. Now tap on Install.
Step 6. Tap on Start Now.
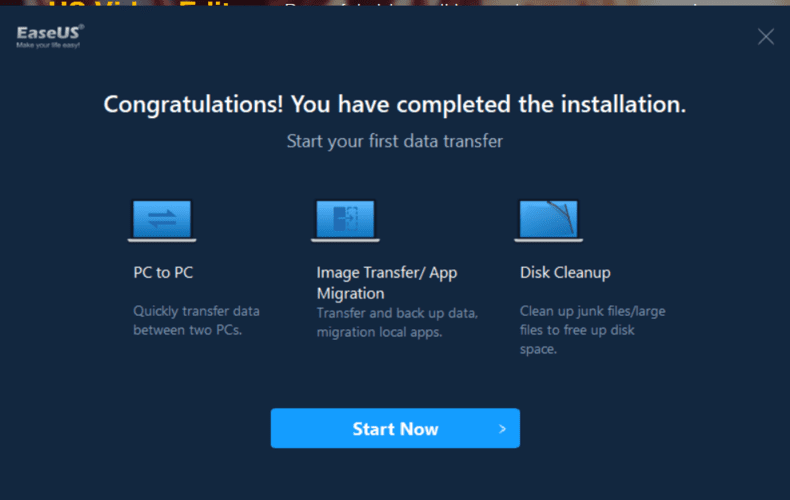
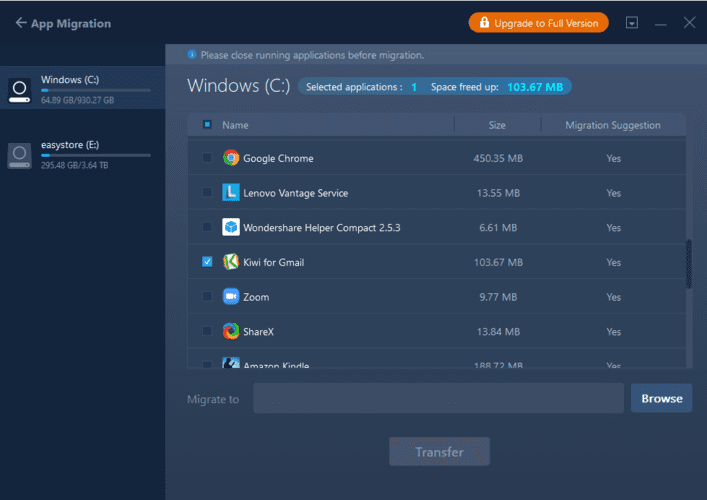
Step 7. Tap on the App Migration option from the left side of the window.

Step 8. Tap on Start.
Step 9. Once the program begins, you will see a window with a list of programs. Simply tap on the ones you want to move to the new drive location.
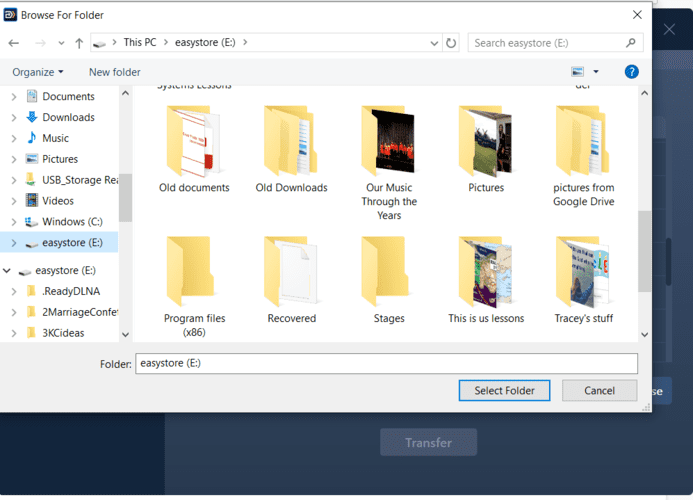
Step 10. Now tap on the Browse button to choose the destination drive.
Step 11. Then select the drive you want to use and click Select Folder.
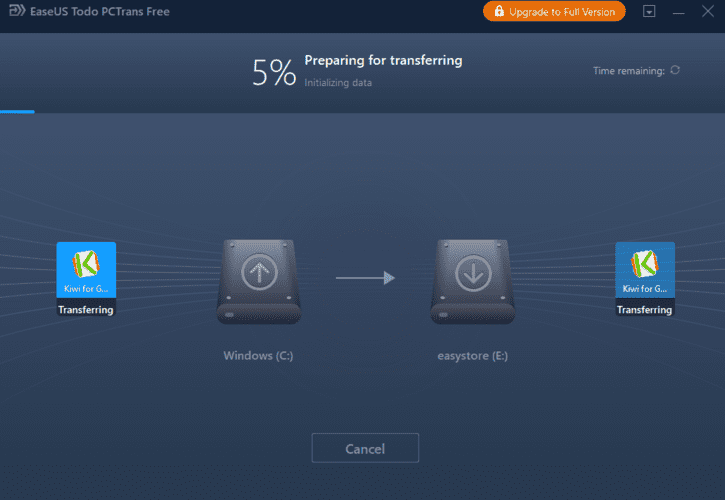
Step 12. After that tap on the Transfer button.
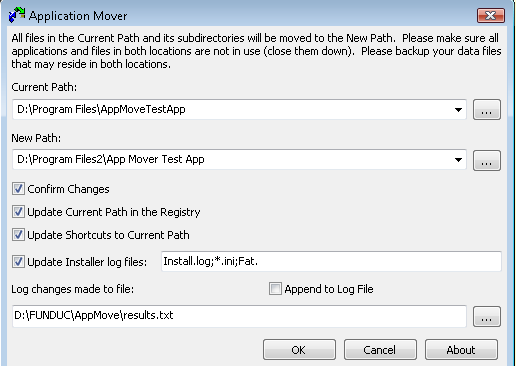
Other software you can use include Steam Mover works for programs as well as games and Application Mover.
All of these programs are pretty simple to use, asking you to enter the current path of the program followed by the directory you want to move it to. Just follow the instructions, and you’ll be simply fine!
Conclusion
All the above methods will work to move your Windows programs to another drive and free up space on the main drive. Simply pick and use the one method that you are most comfortable with.