Is your hard drive starting to fail or you are interested in trying the new SSD drives to see what the big deal is. Whatever the reason is just follow the steps in this guide to upgrade your Hard Drive to SSD.
What is SSD
SSD basically consists of some memory chips on the circuit board. They have an In/Out interface which generally transfers data and feeds the power supply.
However, the factor that makes an SSD more attractive to many users is the lack of an actuator arm that moves across the disk, reading and writing the data.
There are also no moving parts at all. Combine this with a speed that is nearly one-hundred times faster than an HDD, and it is not a just surprise that many people are choosing to upgrade to an SSD.
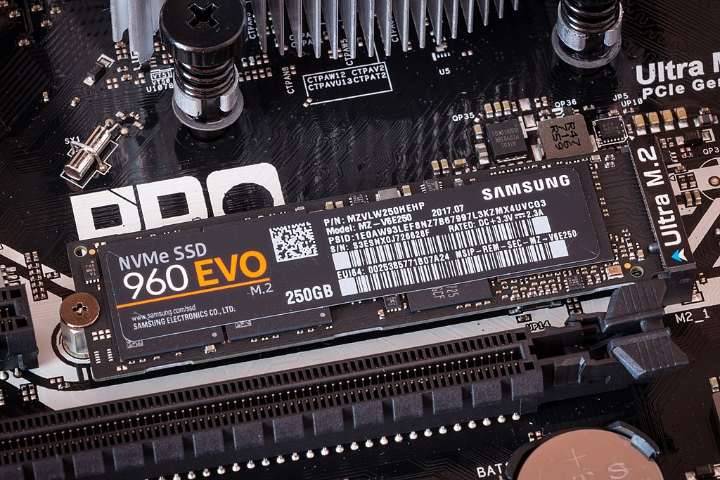
Generally, there are two types of SSD — SATA and NVMe. A SATA SSD looks very familiar to most hard drives since it is enclosed in a case.
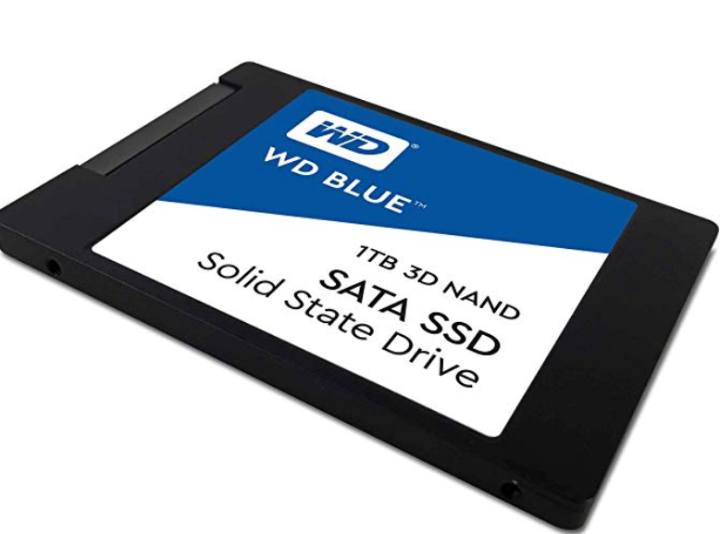
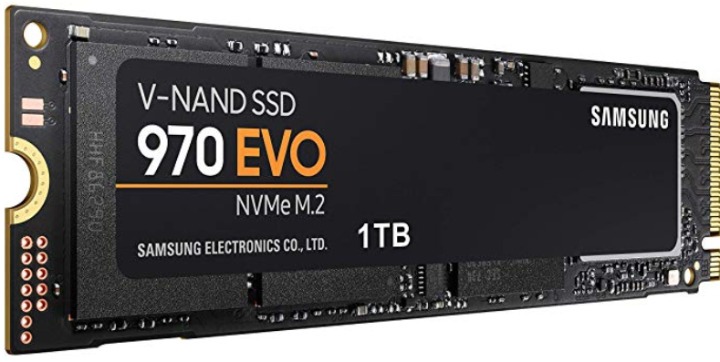
Whereas NVMe drives look more like a stick of RAM. A SATA SSD uses the SATA port while the NVMe SSD uses the M2 port that is not available in older computers.

Check your interface
First of all, before you upgrade to an SSD, use the System Information in Windows 10 to see if your computer supports the SATA interface. Then follow these simple steps:
Step 1: In Windows, press Win + R.
Step 2: In the Run box, type msinfo32.
Step 3: Press Enter or click OK.
Step 4: When the System Information window opens, in the left window pane you’ll see a list of hardware categories. Expand Components, then Storage, and then choose IDE. Look for the type of drive in the list of specs.
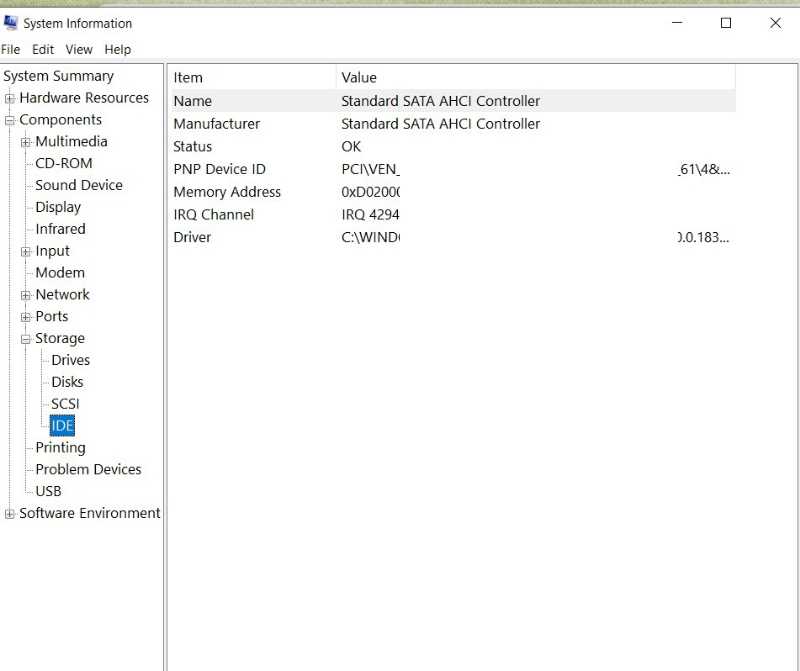
Step 5: You can also click on Disks and search for the model number online to determine the type of storage you have.
What you need for a new SSD with a SATA connection:
Basically, an SSD that will fit in your machine. Most HDD is 2.5 inches only, but you should definitely check the size of the HDD in your computer first. Also, do not forget to verify the thickness.
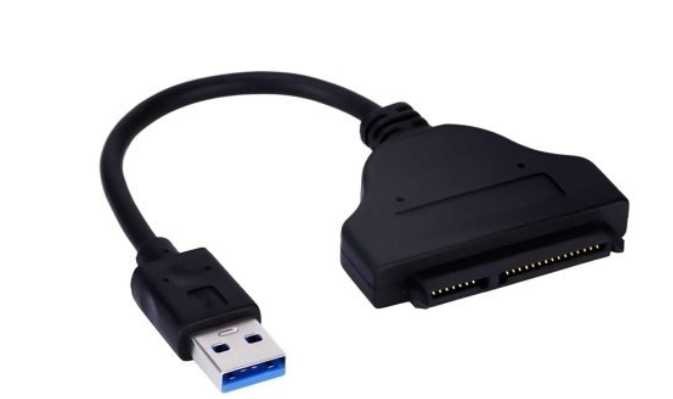
A SATA to USB adapter.
If you have an NVMe connection, you need:
1. An NVMe SSD that will completely fit in your machine. While most M.2 drives are usually 22mm wide and 80mm long, some are shorter or longer.
You can also determine the size by looking at the four- or five-digit numbers in their names. For example, the 22mm by 80mm drives will have the number M.2 Type-2280.
2. An M.2 NVME USB Adapter. For both the connections you will need a good and high-quality small-head Phillips screwdriver to disassemble your computer.
How to upgrade to an SSD Drive
The first and important step is to take all the information in your current hard drive and copy it over to your new drive. If you do this, your Windows OS will copy over also and this will eliminate any need to reinstall the Windows software.
Then connect the new SSD drive to your computer using the SATA to USB (or M.2 to USB) adapter. We are going to use the MiniTool Partition Wizard to clone your current hard drive. You can also use Clonezilla in case you prefer free and open-source software. Follow these easy steps:
Step 1: Firstly, download the MiniTool Partition Wizard, and install it to your computer.
Step 2: Then launch the program if the interface does not automatically appear.
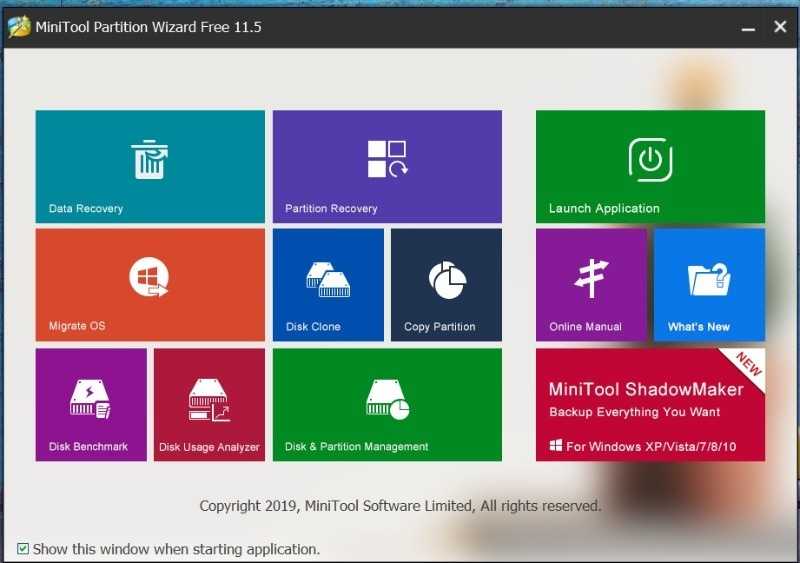
Step 3: Now choose “Disk Clone.”
Step 4: Tap on Next and then select the disk to clone.
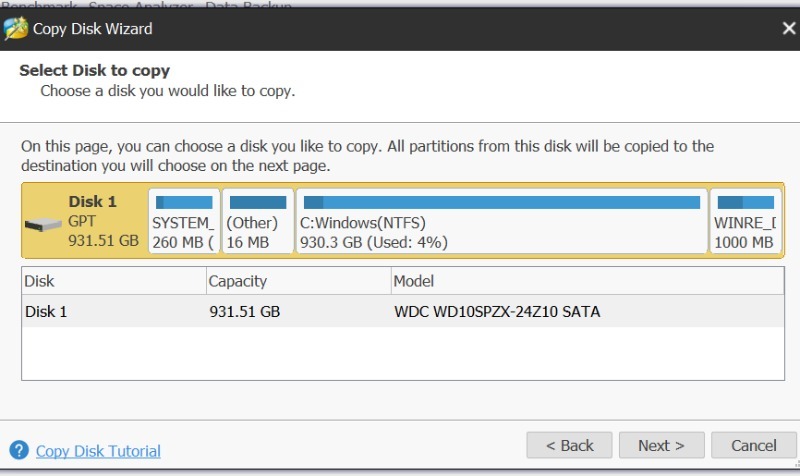
Step 5: Tap on the Next button again.
Step 6: After that select the target disk where you want to clone your HDD and click Next.
Step 7: Now select Copy options. If your SSD is smaller than your old disk, select “Fit partitions to the entire disk.” Or else, it is best to choose “Copy partitions without resizing.”
Step 8: Then read the popup note and tap on Finish.
Step 9: Tap on Apply to complete the process.
Install a SATA SSD
In case you are not confident that you can take your computer apart and put it back together, it is best to get a professional to do it. To be safe, at least look up how to remove the HDD for your particular machine on the internet.
While taking the computer apart, do not force any pieces apart. There may be screws you can not basically see holding it together, and you may end up doing damage to your machine.
Also, to help with reassembly, take pictures to see where the screws belong and keep the screws somewhere where you can organize them and not lose any or forget where they go. Then follow these steps:
Step 1: Firstly, lay the computer on a flat or non-carpeted surface.
Step 2: Then unplug the computer and press and hold the power button for a few seconds. Taking these steps will make sure there is no leftover charge in the machine.
Step 3: Now Locate the hard drive. If you can not tell where it is just by looking, check your device’s users’ manual to find it. Most laptops have the hard disk positioned under a removable panel, so that is what we will assume.
In case your HDD is hidden under the keyboard or motherboard then there are extra steps.
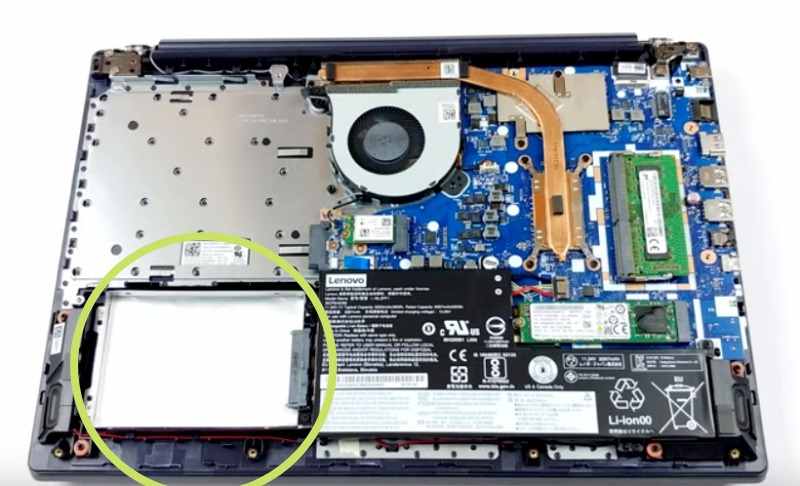
Step 1: Mostly use your screwdriver to remove the screws securing the removable panel on your laptop.
Step 2: Then remove the cover.
Step 3: After that remove the screws holding the HDD to your computer.
Step 4: Now loosen any other clips or cables securing the HDD.
Step 5: Then remove the drive.
Step 6: Here if there is a case or cover on the drive, remove it and take out the actual hard disk.
Installing NVMe SSD
Step 1: First of all locate the M.2 PCIe slot. It is very small, only about 2cm.
Step 2: Then install the motherboard standoff screw based on the length of your M.2 SSD drive.
Step 3: Now with the standoff screw in place, gently insert the drive into the M.2 slot. Push it in at just about a 30-degree angle.
Step 4: After installation, it will sit in a raised position and this is quite normal.
Step 5: Now push the SSD down so that it is flush with the motherboard and sitting on the standoff mount screw.
Step 6: After that, screw the SSD drive down to the motherboard standoff mount. Tighten until it is snug but do not over-tighten.
Once you have set the drive in place then try to boot up the computer. Since you copied your OS along with your other information, this step should be very easy.
Now Good luck with your new SSD! and Your SSD will definitely last longer than a standard HDD because it has no moving parts and it will be faster too.