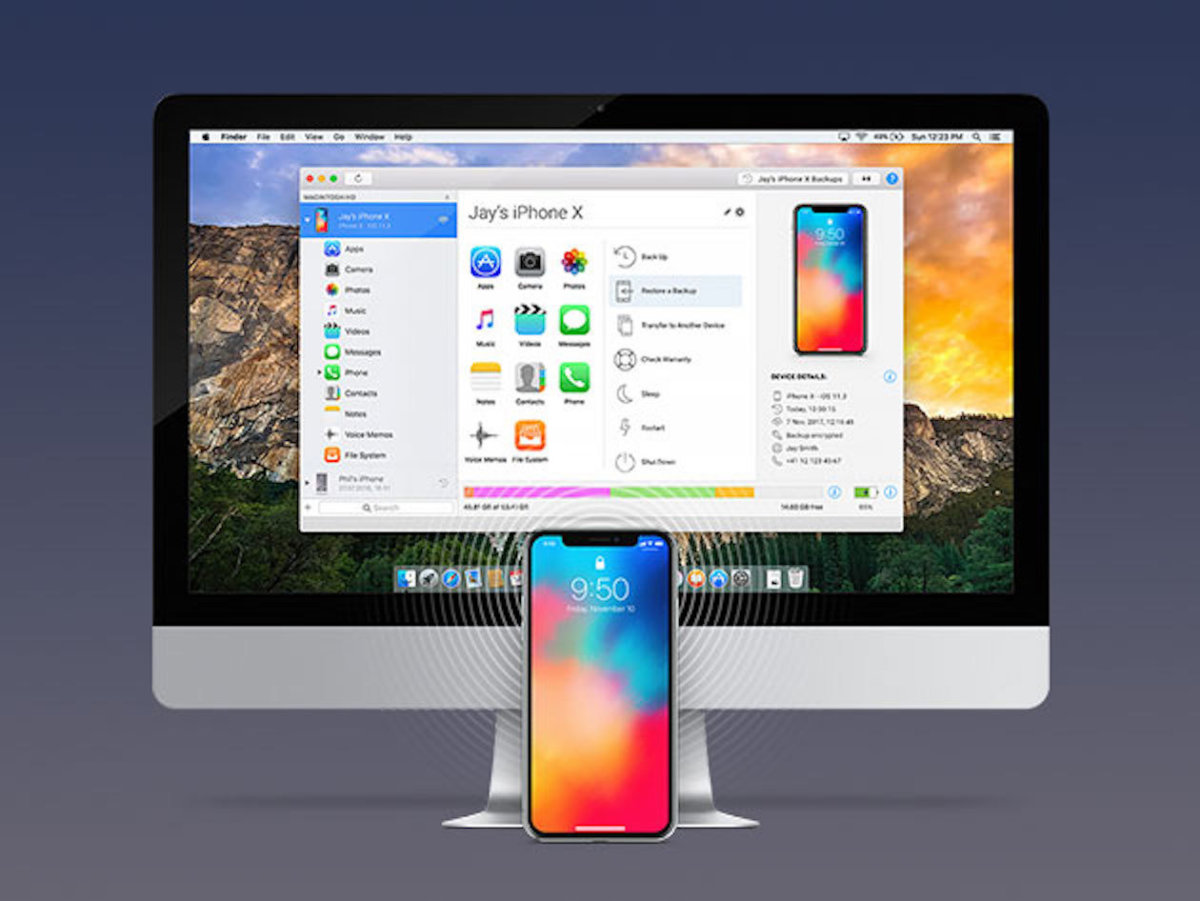
Apple has quite long touted about the benefits of its ecosystem, and to that end, the company has done a great job. Everything from AirDrop, iCloud to Handoff makes syncing between iOS and macOS a much easier. Here’s how to your iPhone as a Remote Control in macOS.
One benefit for users is the opportunity to use your iPhone as a remote control for Apple TV and Apple Music. Native support exists, however, with the release of macOS Catalina, it’s a new world for remote functionality.
Why Use Your iPhone as a Remote Control?
The more practical reason is that it makes perfect sense to use the iPhone as a remote, hence you are not forced to always use the mouse. As most of macOS users connect their computers to large monitors, this allows a chance to sit away from the computer and still view media content.
In that case, having the iPhone act as a remote makes complete and total sense. Moreover, there are a few other reasons, but that one is likely the most reasonable.
The Native Route
In case this was one year ago then, the native way of using your iPhone as a remote for macOS would have been completely different. For better or worse, macOS Mojave was the last Mac software release to use the program that everyone loves to hate, iTunes.
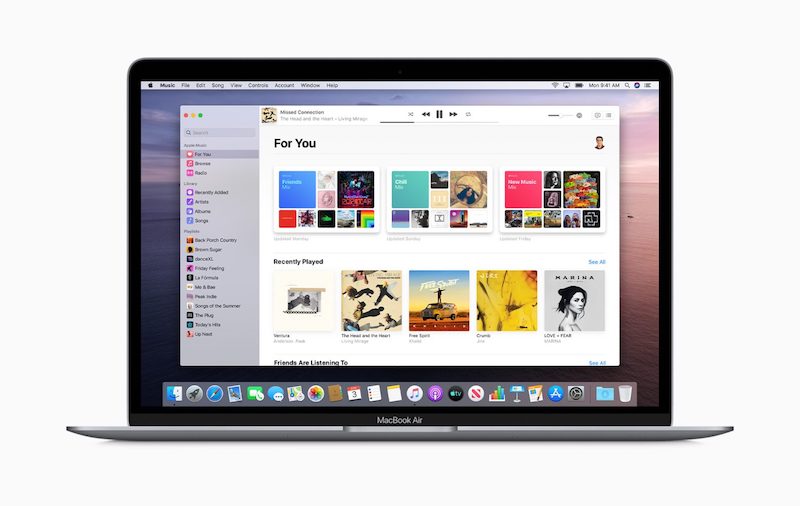
With the launch of macOS Catalina, Apple removed iTunes. Then replaced it with Apple Music and Apple TV. The good news is that using your iPhone natively as a remote is still possible. It just acts a little differently than before.
Before jumping into the steps, it’s important that if you want to go the native route then, you should use the same Apple ID on all of your devices.
This step really matters as you will need to activate “Home Sharing” and that only works if all of the devices are on the same network and using the same Apple ID.
In case this is not an issue, then you should be able to set things up to control music, movies and TV shows with your iPhone.
Setting Things Up on the Mac
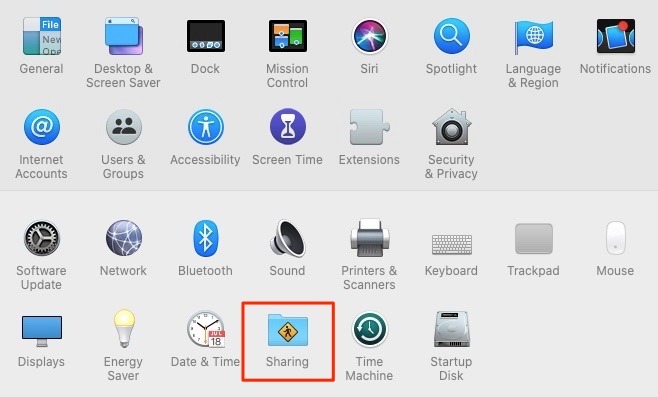
Unlike earlier macOS systems, the Home Sharing feature has been moved to System Preferences. In order to get there, you just need to go to the upper-left corner of your screen and tap on the “Apple” logo.
Then select the “System Preferences” option. When the system preferences menu appears, toward the bottom row of your preferences options is “Sharing.” It resembles a blue folder with a yellow warning symbol logo.
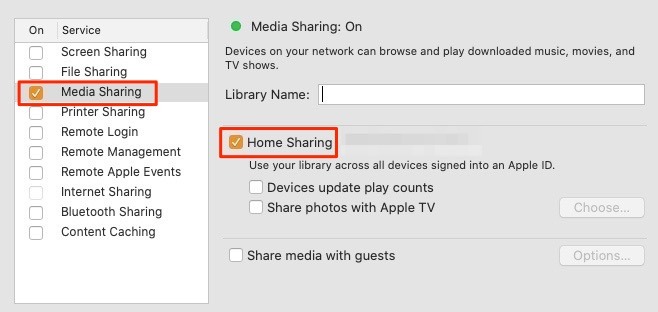
When you open that preference, you will face a series of services you can enable/disable. For our purposes, select “Media Sharing” on the left side and then “Home Sharing.”
After tapping on Home Sharing, a menu prompt will open asking you to fill in your Apple ID. It is very critical that the Apple ID you enter here is the same as your Apple ID on your iPhone. Once you have entered that, tap on “Turn On Home Sharing.”
Setting Up the iPhone
Apple’s “Remote” app is quite simple however when you are now at the point that you should have downloaded the app to move forward. When you open the app for the first time, tap on Settings near the top right.
For Music control, head to “Settings -> Music.” To control the music on the computer, the Apple Music app must be open. The same goes for the media.
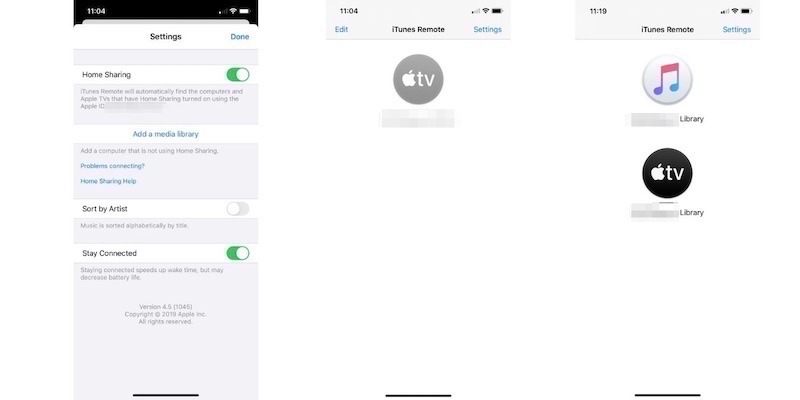
To control any media you have in Apple TV, whether purchased or your own content, go to “Settings -> Accounts -> Home Sharing.” Again, the same rule applies here, as the Apple TV app must be open on the computer to work.
It’s Remote Time
After both of these apps are enabled, you are now free to use the iPhone as a remote control. When you open the app each time, you will be presented with a music icon or the TV icon which will take you to either library.
From there, you can either pause, play, start and select any of your existing content to watch or listen. It is that much simple.
Conclusion
Apple’s Remote app is pretty simple and all things being equal. There are several third-party remote options that enable dramatically more features and services.
There are also apps that enable the iPhone screen as a mouse in the place of an actual physical mouse that connects over Bluetooth or USB. Even if it only supports basic services, Apple’s Remote feature is more reliable and offers plenty of use cases.